Pet photography
Your pet photography will take a huge leap forward if you follow these few tips. We photograph everything from small products to people, weddings and even large construction sites. We do it from the ground and the air (with drones) and have many years experience
To photograph your pet – in this case a dog – takes patience patience patience . . . . . and a camera.
Which camera?
Your camera doesn’t have to be an all singing and dancing professional Digital SLR, the rules below apply with anything from an Iphone upwards
We took our dogs out yesterday for a walk in the woods with the challenge for a bit of fun of getting some good head shots.
If we were going to do this for a professional reason though it would have been much better to take one dog rather than all 3 to stop the distractions of the other dogs – and a towel to dry Ted’s ears!
The key steps to good pet photography
The first thing you have to do is to let your dog run off a lot of energy. It is pointless getting the dog out of the car and wanting them to sit and pose straight away.
If your dog is like ours they are bursting with the desire to run, sniff and generally have a lot of fun. They don’t want to sit and be photographed.
We started to get ours to pose after about 15 mins and then only for a minute or two in a few locations. Dogs don’t have long attention spans so a bit here and a bit there is far better than one long shoot. You get different backgrounds doing it this way too
Some of the best tips for successful dog photography
So, assuming you have run off the dog’s excess energy, here are our top tips for successful pet photography:
- Get a professional to do it for you – OK, I had to get that one in!
- It’s better with two people – yesterday I was operating the camera and Anne was getting Ted to focus on her while I took the shots
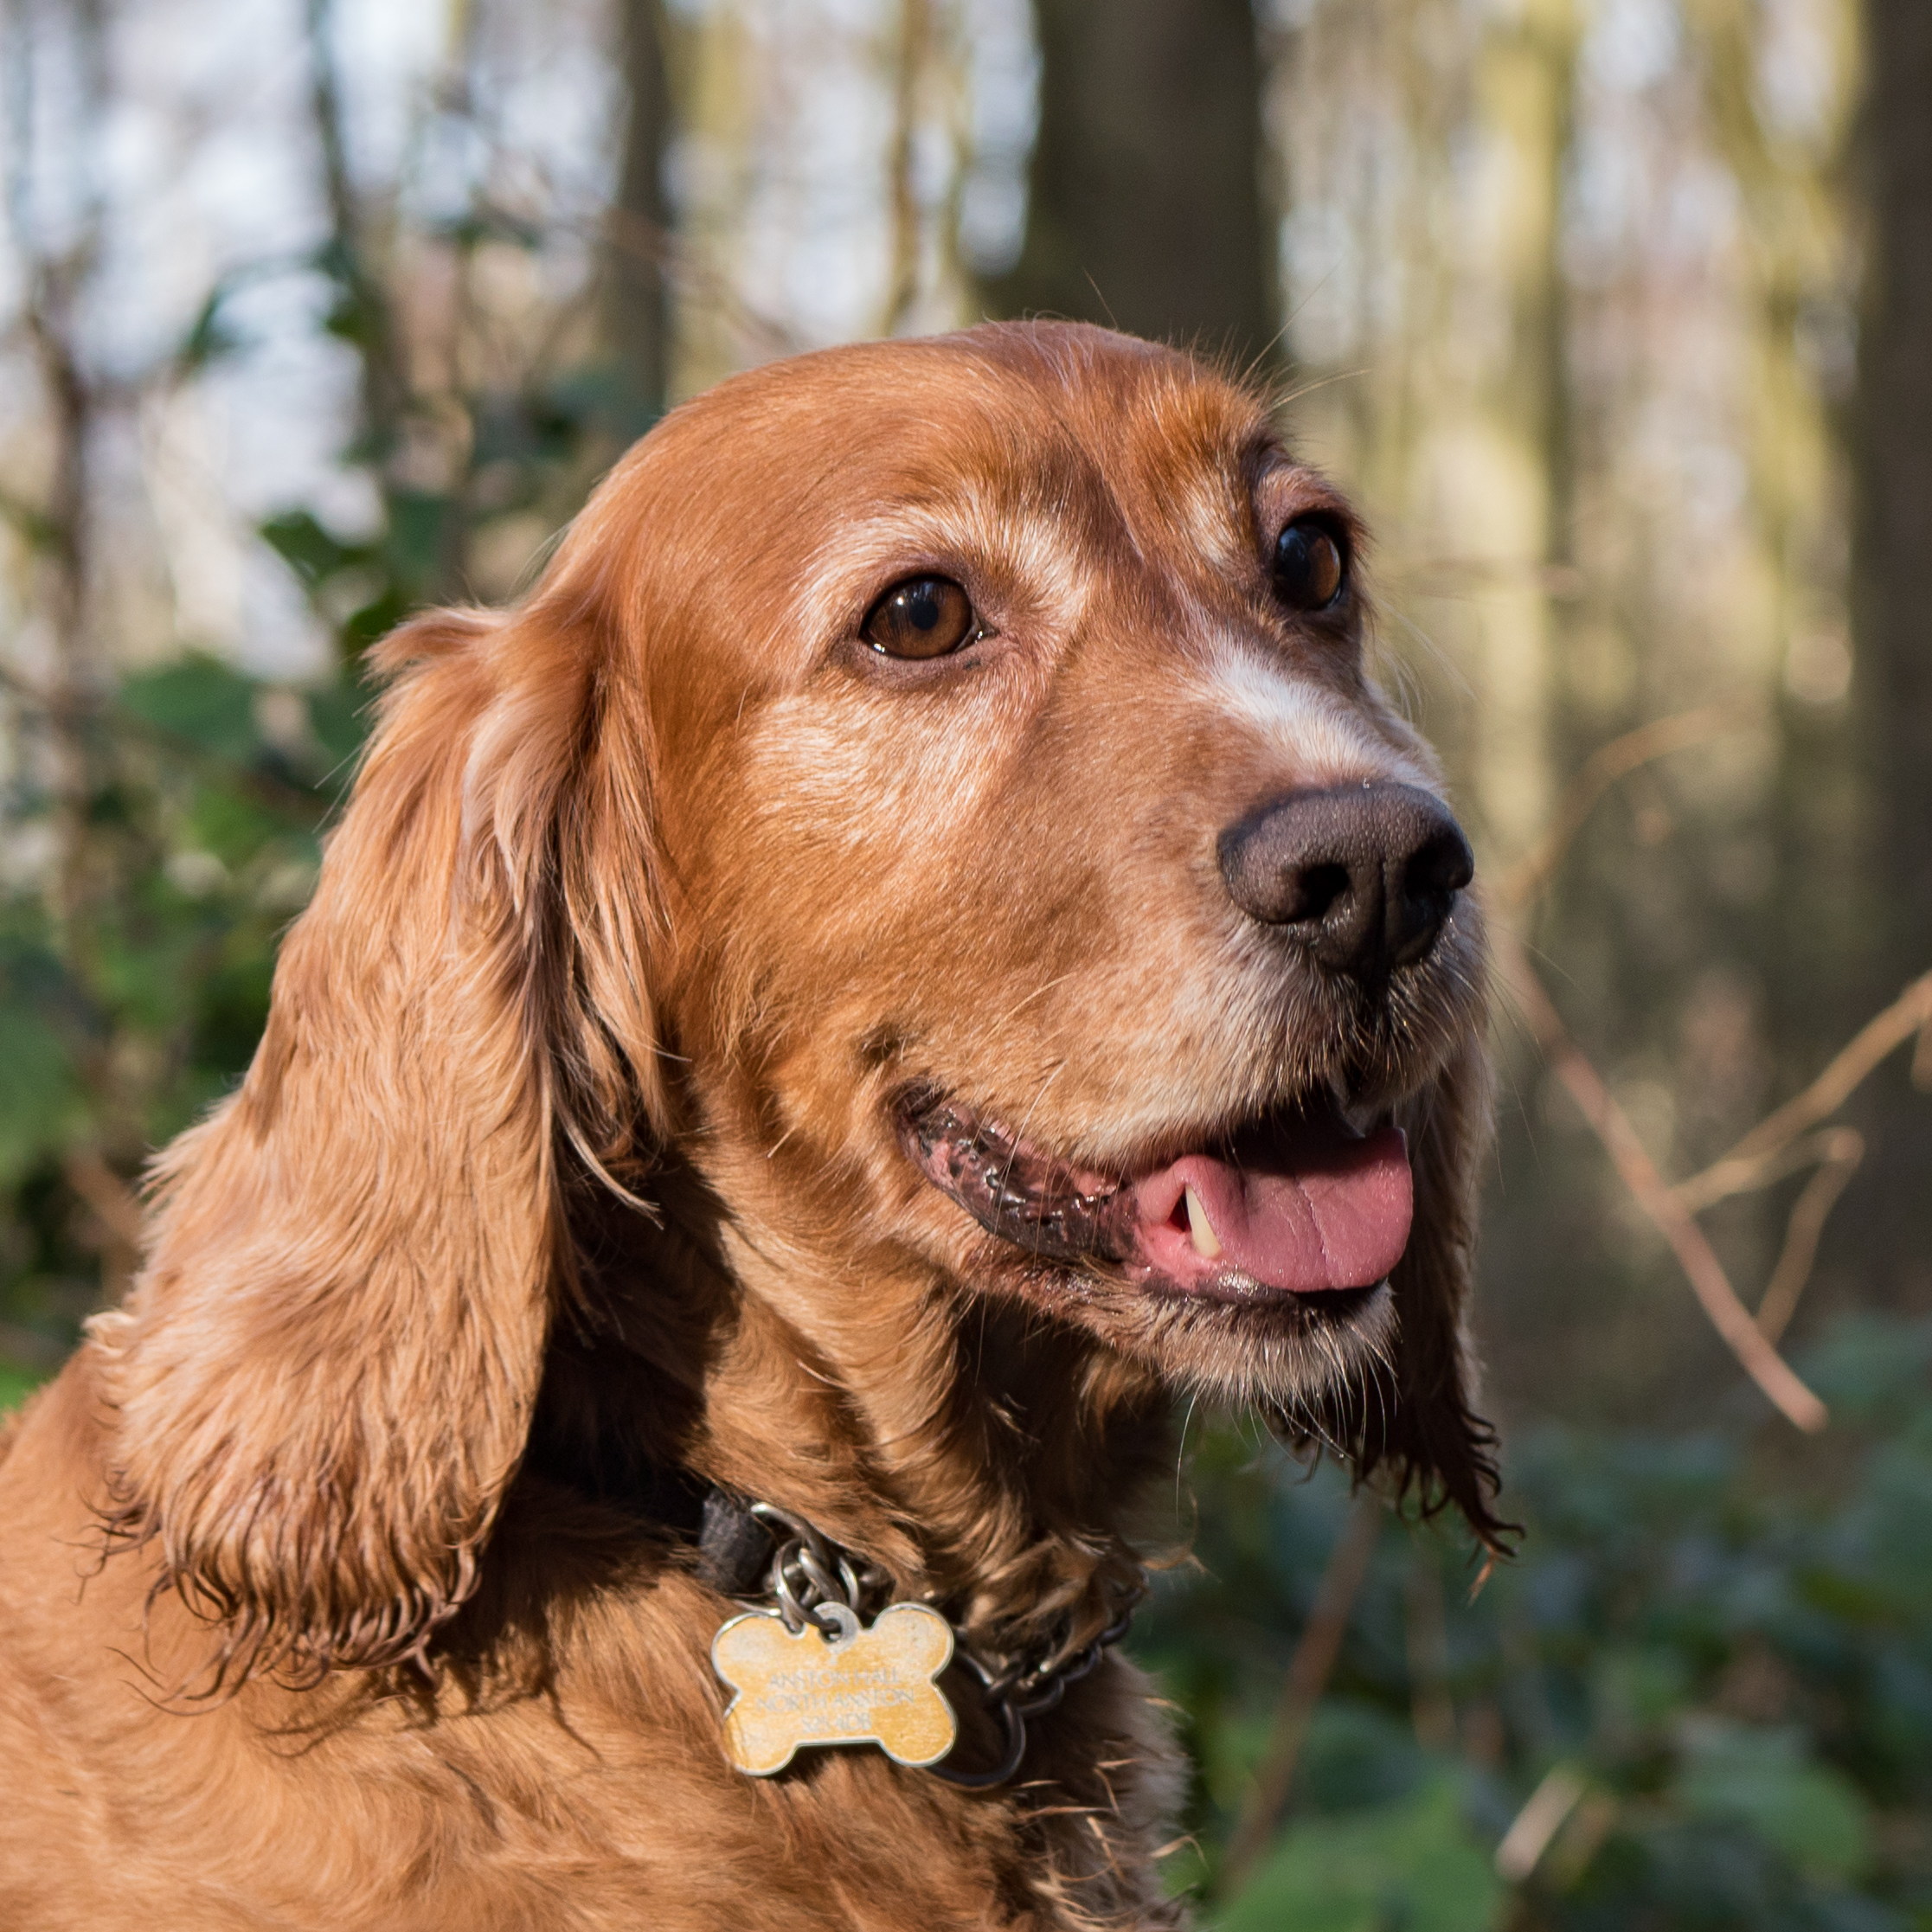
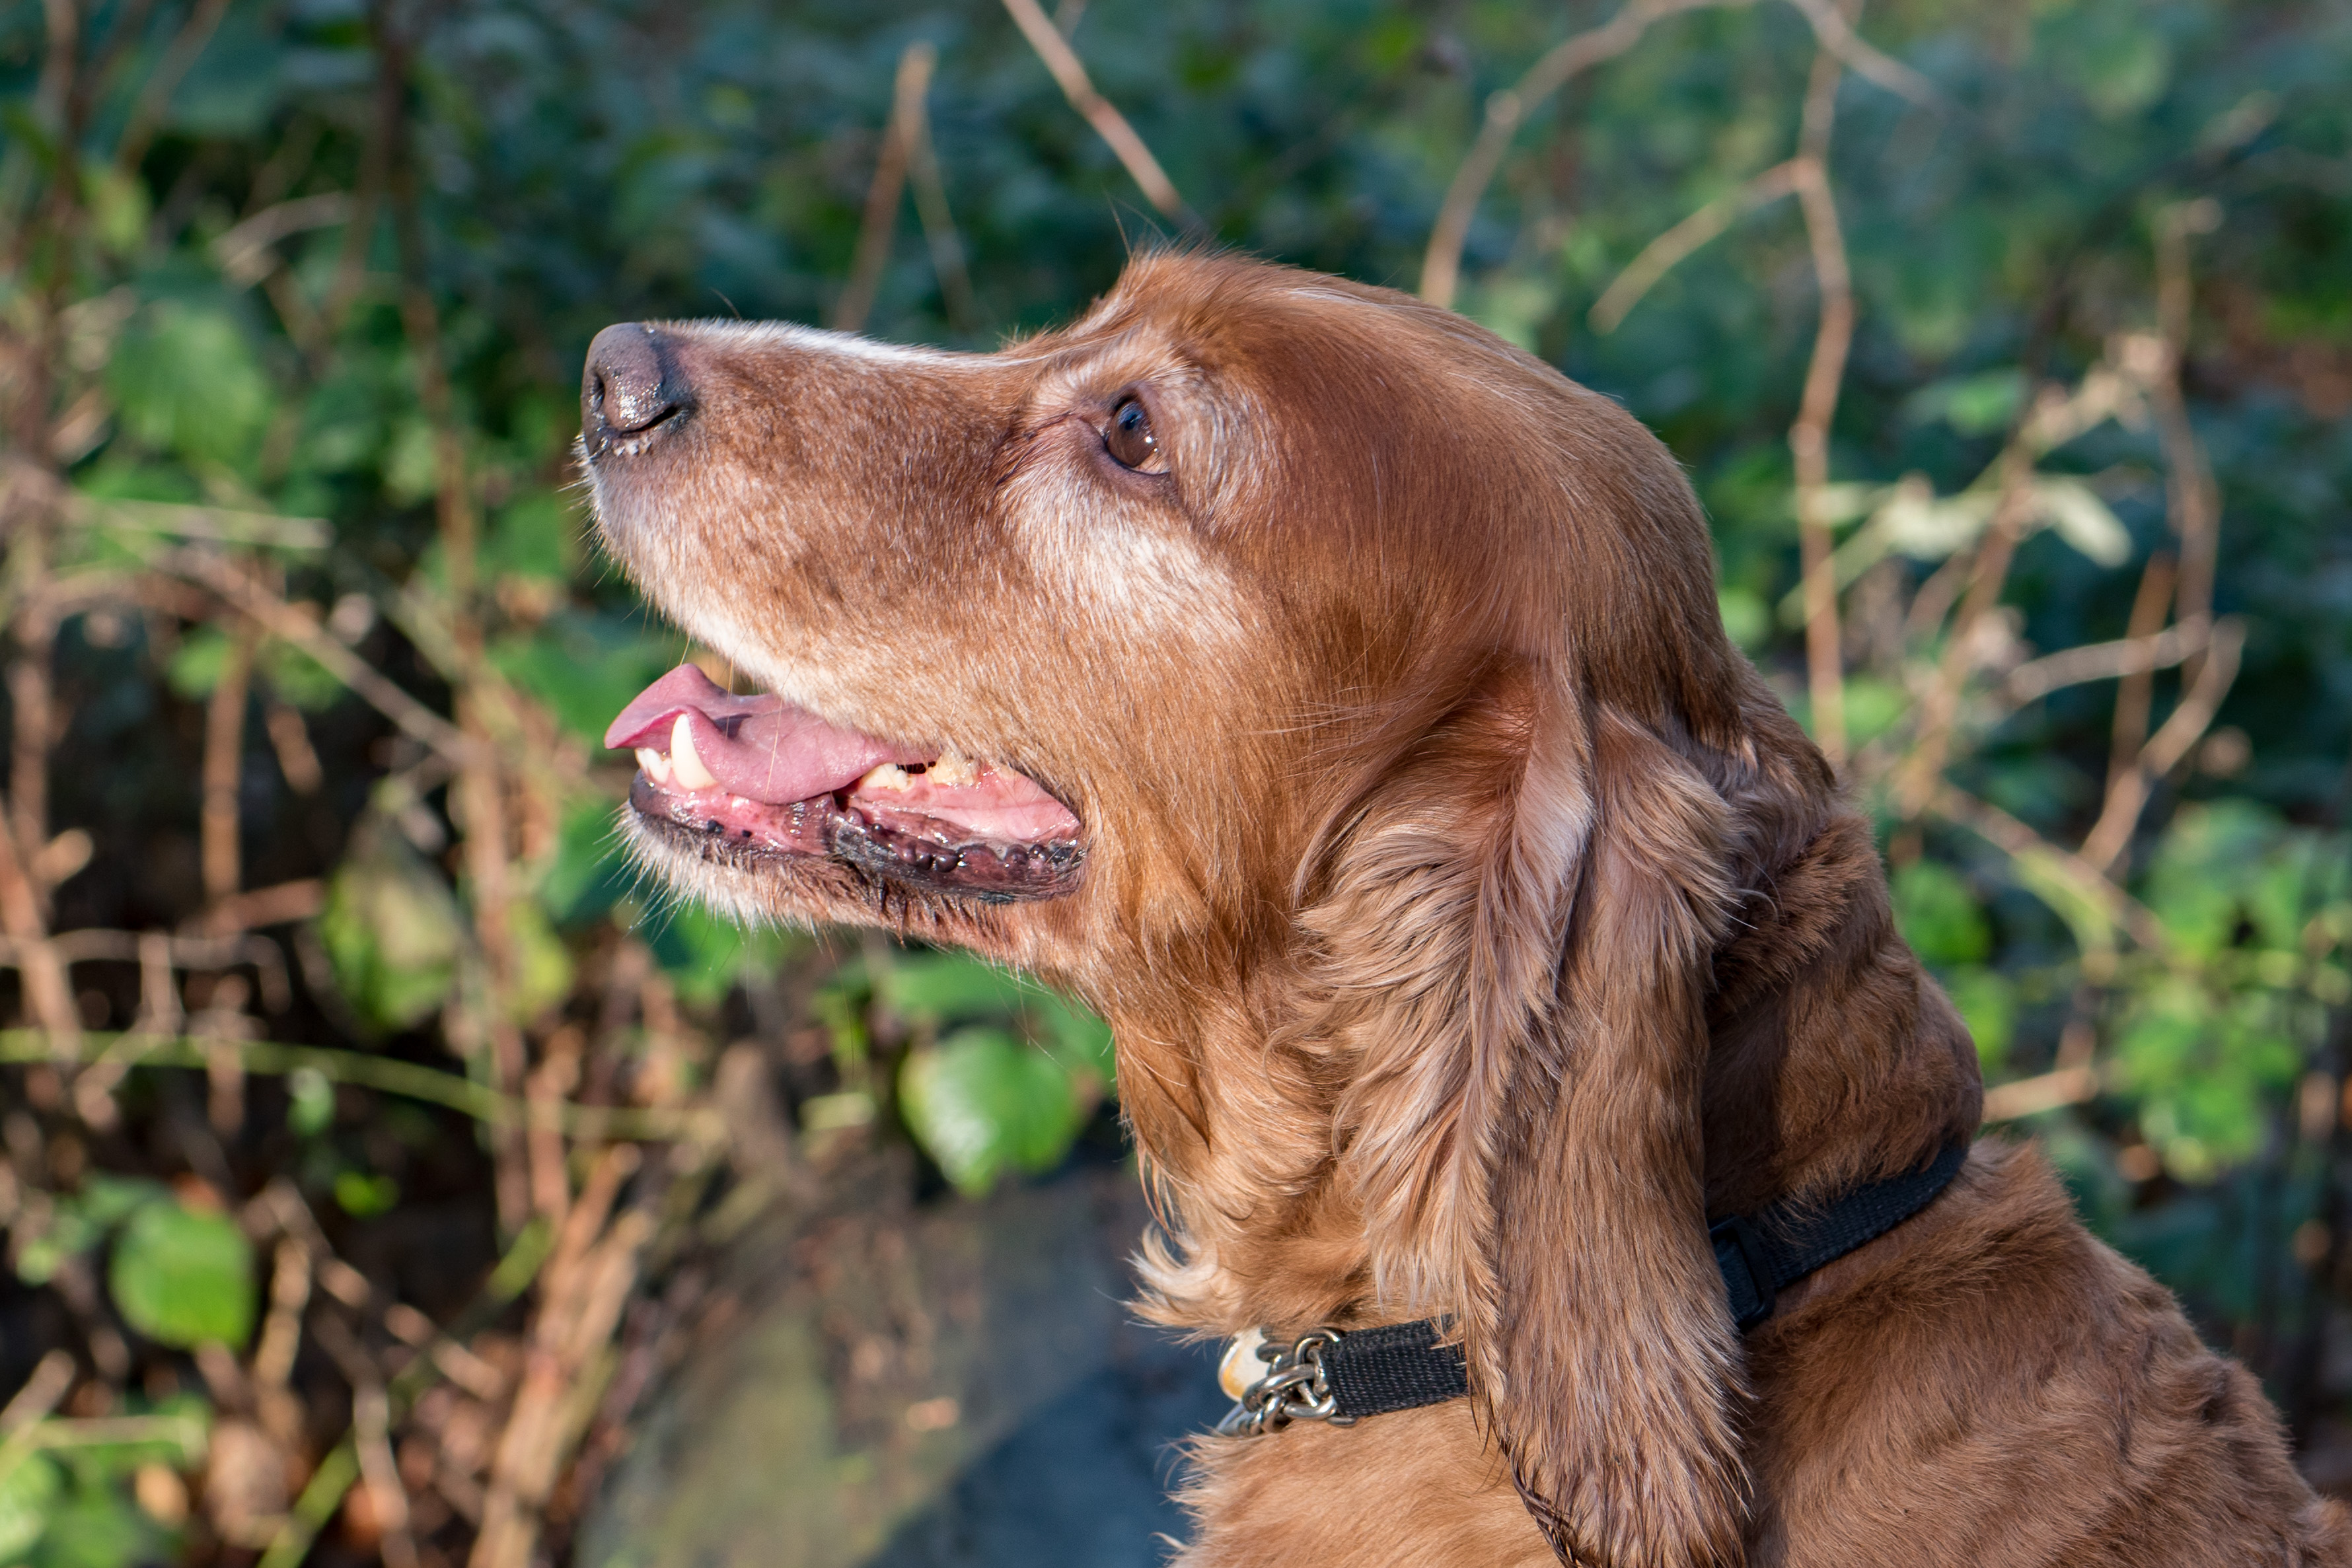
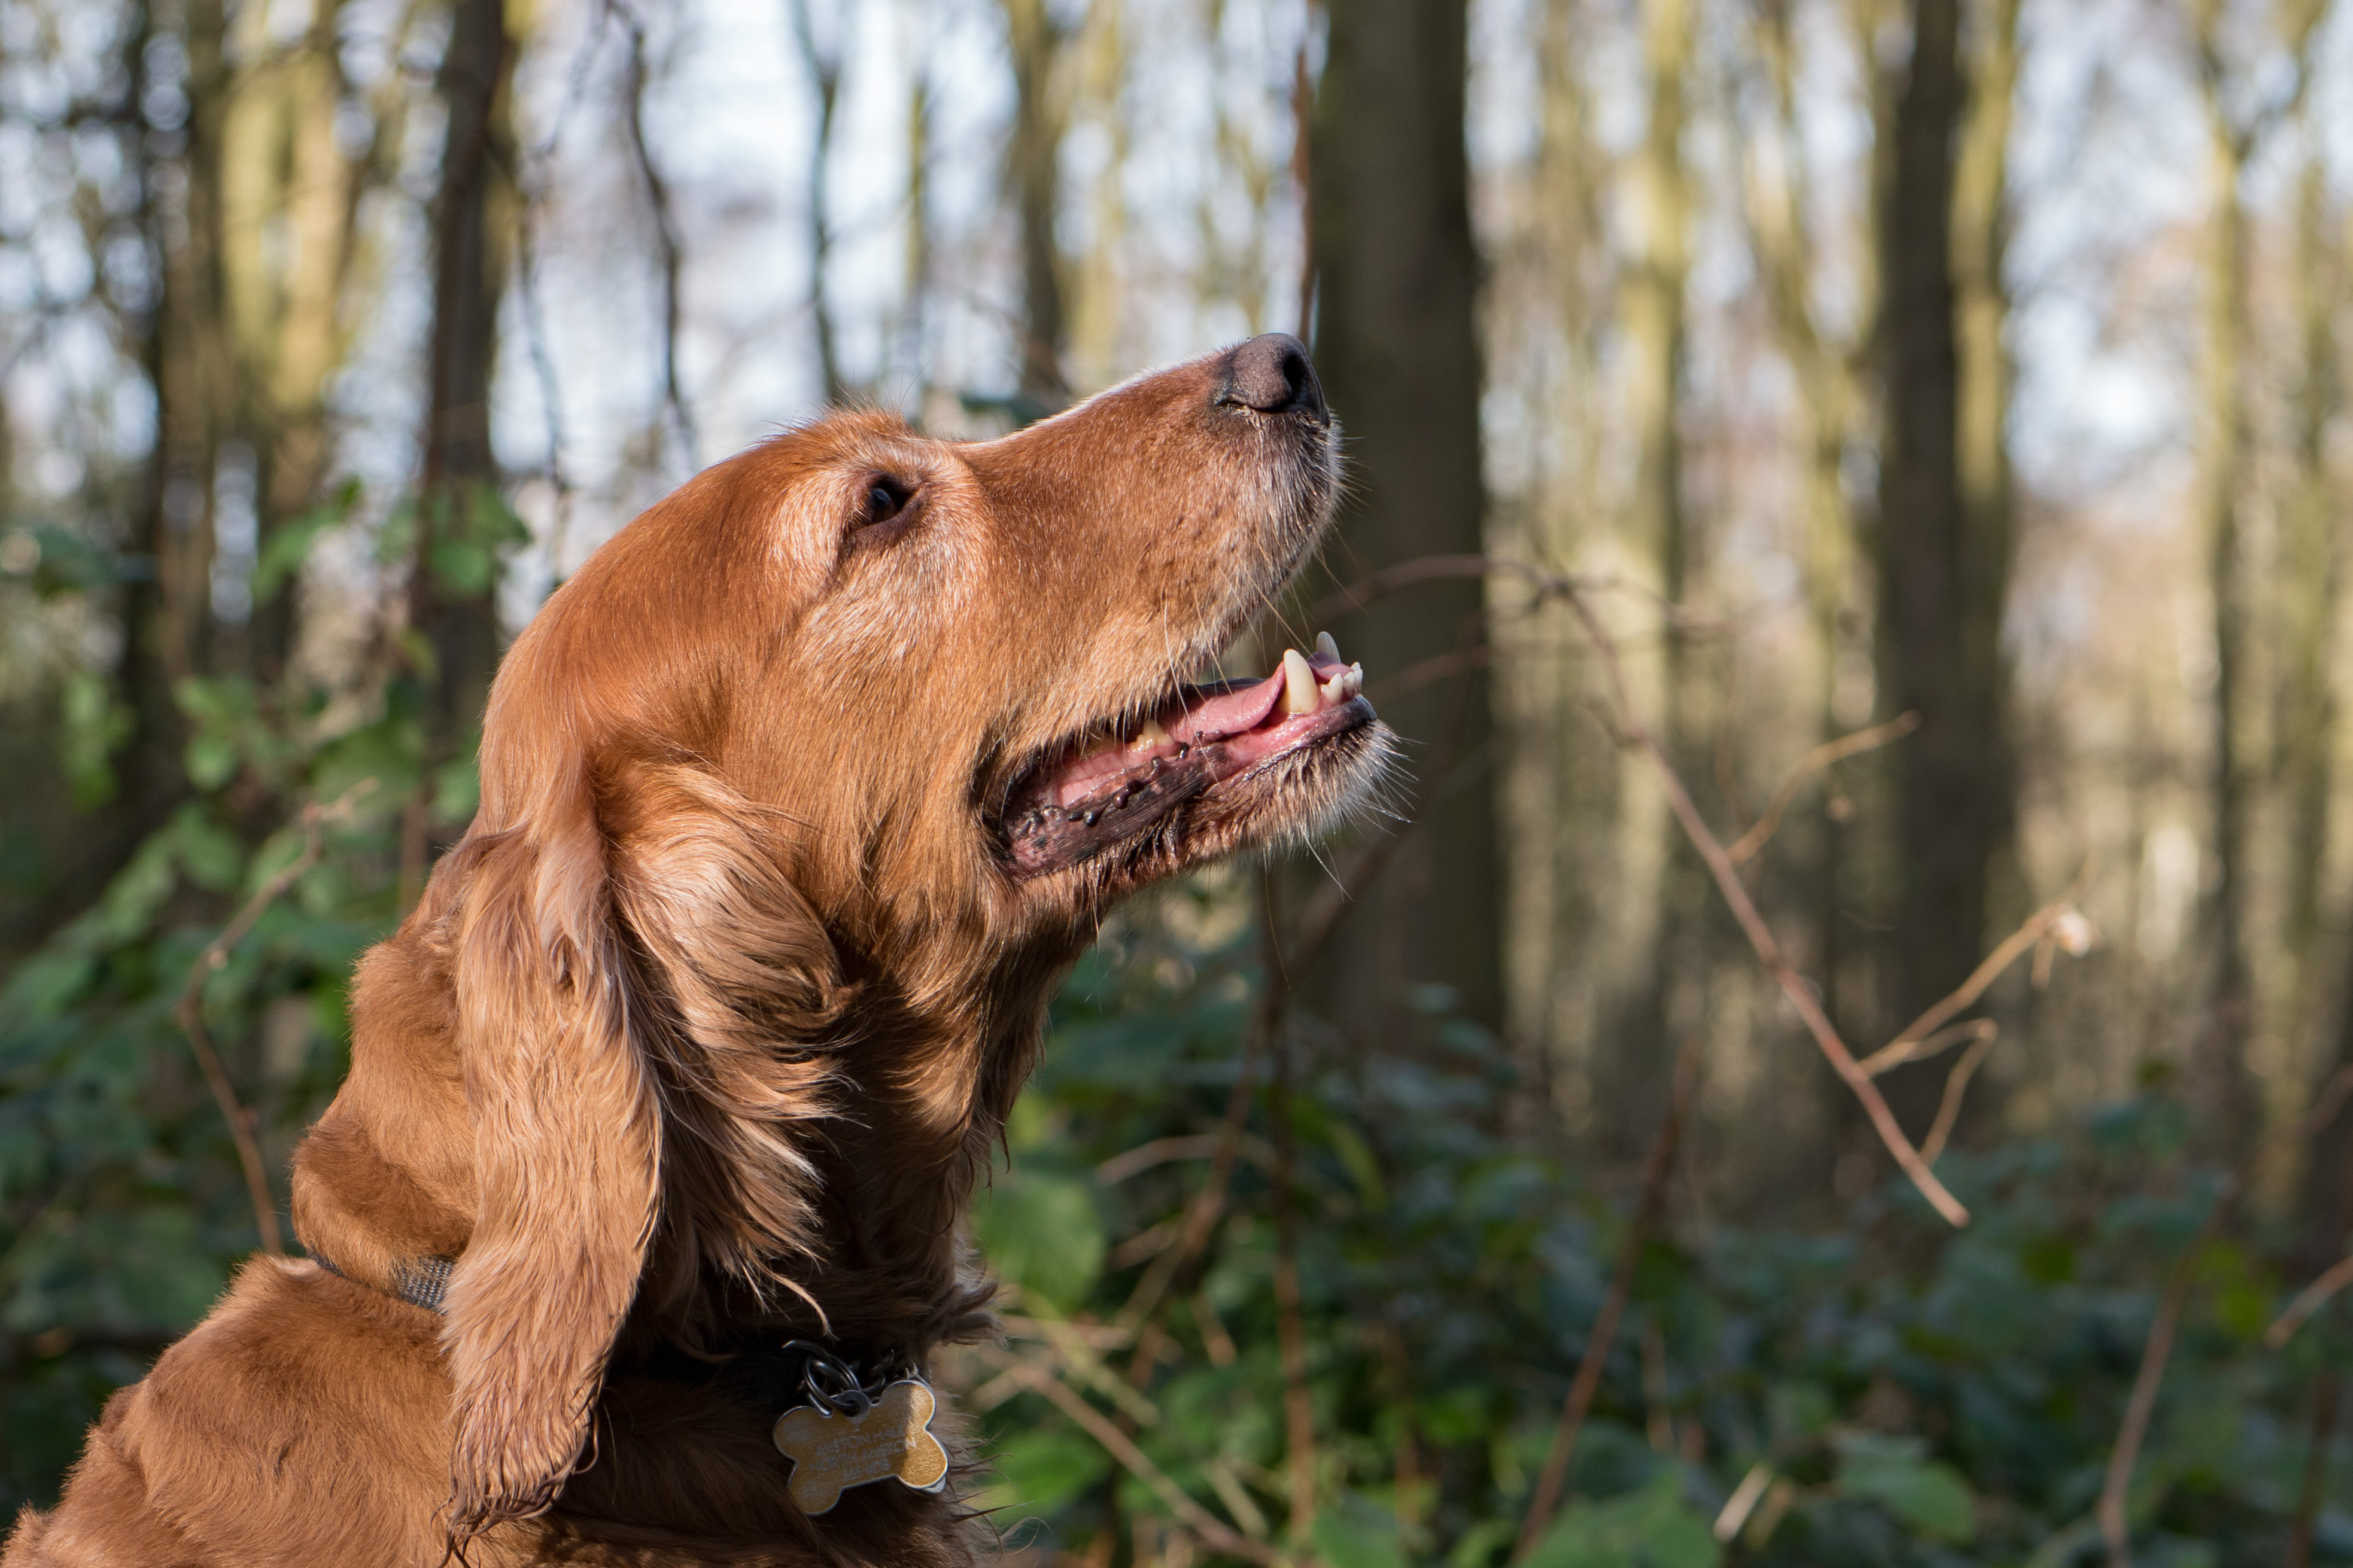
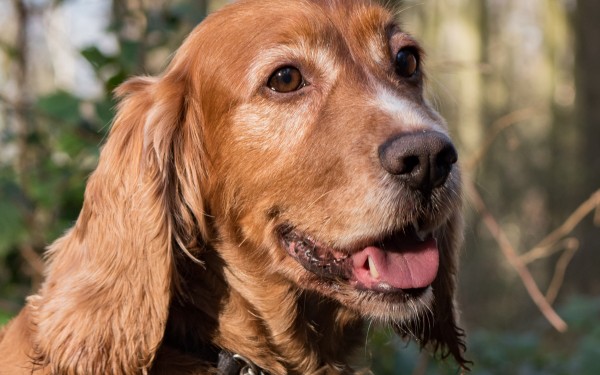
- Get down to the eye level of the animal you are photographing – this is of paramount importance for any animal if you want great shots
- Focus on the eye, a nicely composed shot with the nose in focus and the eyes blurred won’t look good and is not a “keeper”. If you really want to nail the shot focus on the eye closest to you
- If you have a Digital camera set an aperture that allows for a bit of animal movement but still keeps the subject in focus and blurs the background. We used F4 and were about 3 feet from the dog to throw the background out of focus but bigger numbers F6.3, F8 etc will help to get more in focus when you start
- Watch the shutter speed too, our shutter speed was 1/200 but if your pet is sitting still you can get away with 1/100 but the faster the better
- Set the camera to multi shot – this allows you to take lots of photos one after the other so you have more to choose from
- Unless you have a long zoom lens get close to the animal, this will help to blur the background and draw attention to your subject
- Have some treats if necessary to help the animal to sit still and concentrate
- If at first you don’t succeed let the dog run around some more and then try again
- Our settings for this shoot were Aperture = F4, Shutter speed = 1/200, ISO = 200
Here are some of the results from our walk yesterday. For every shot here we had others that didn’t make the cut as they were blurred because Ted moved so persevere or contact us and we will come and help
Camera training workshops
If you want us to photograph your pet or teach you how to do it with a camera training workshop on how to take better photographs – of your pet or anything else – we charge £100.00 for 4 hours of instruction
Pet photos
Click on any photo and it will expand to full size and you can then scroll through the other images