I went for a walk yesterday with Anne and our 3 dogs. It was cold, damp and very foggy, so much so that I nearly didn’t take my camera but I’m so glad now that I did.
We parked the car and set off into some local woods, the light was a bit on the dull side so I had to raise the ISO to compensate to get a usable shutter speed without motion blur creeping in.
Because it was so damp, everything looked like it has been sprayed with a mister to create beautiful water droplets.
Having got the ISO and the shutter speed correct it was now time to look at the depth of field so that I could make the foreground subject be sharply focussed and make the background nicely blurred
Photography tutorial on using depth of field to make your foreground pop and your background be nicely out of focus
The easiest way to create this effect is simply to move your camera a lot closer to the subject and experiment by taking a photo and then reviewing it.
Depth of field is the technical term for this but in everyday language it simply means what’s in focus and what isn’t
Another way – If you are using a standalone camera (not a phone) – is to look for the control for the aperture (A on most cameras or AV on Canons). This may run from f2.8 up to f22 or something in between (f4, f5.6, f6.3, f8, f11 etc)
What you need to remember is that a small number gives a small depth of field and a large number gives a large depth of field
A small number / small depth of field will make the background blur out quickly and a large number / large depth of field will keep the background in focus for longer.
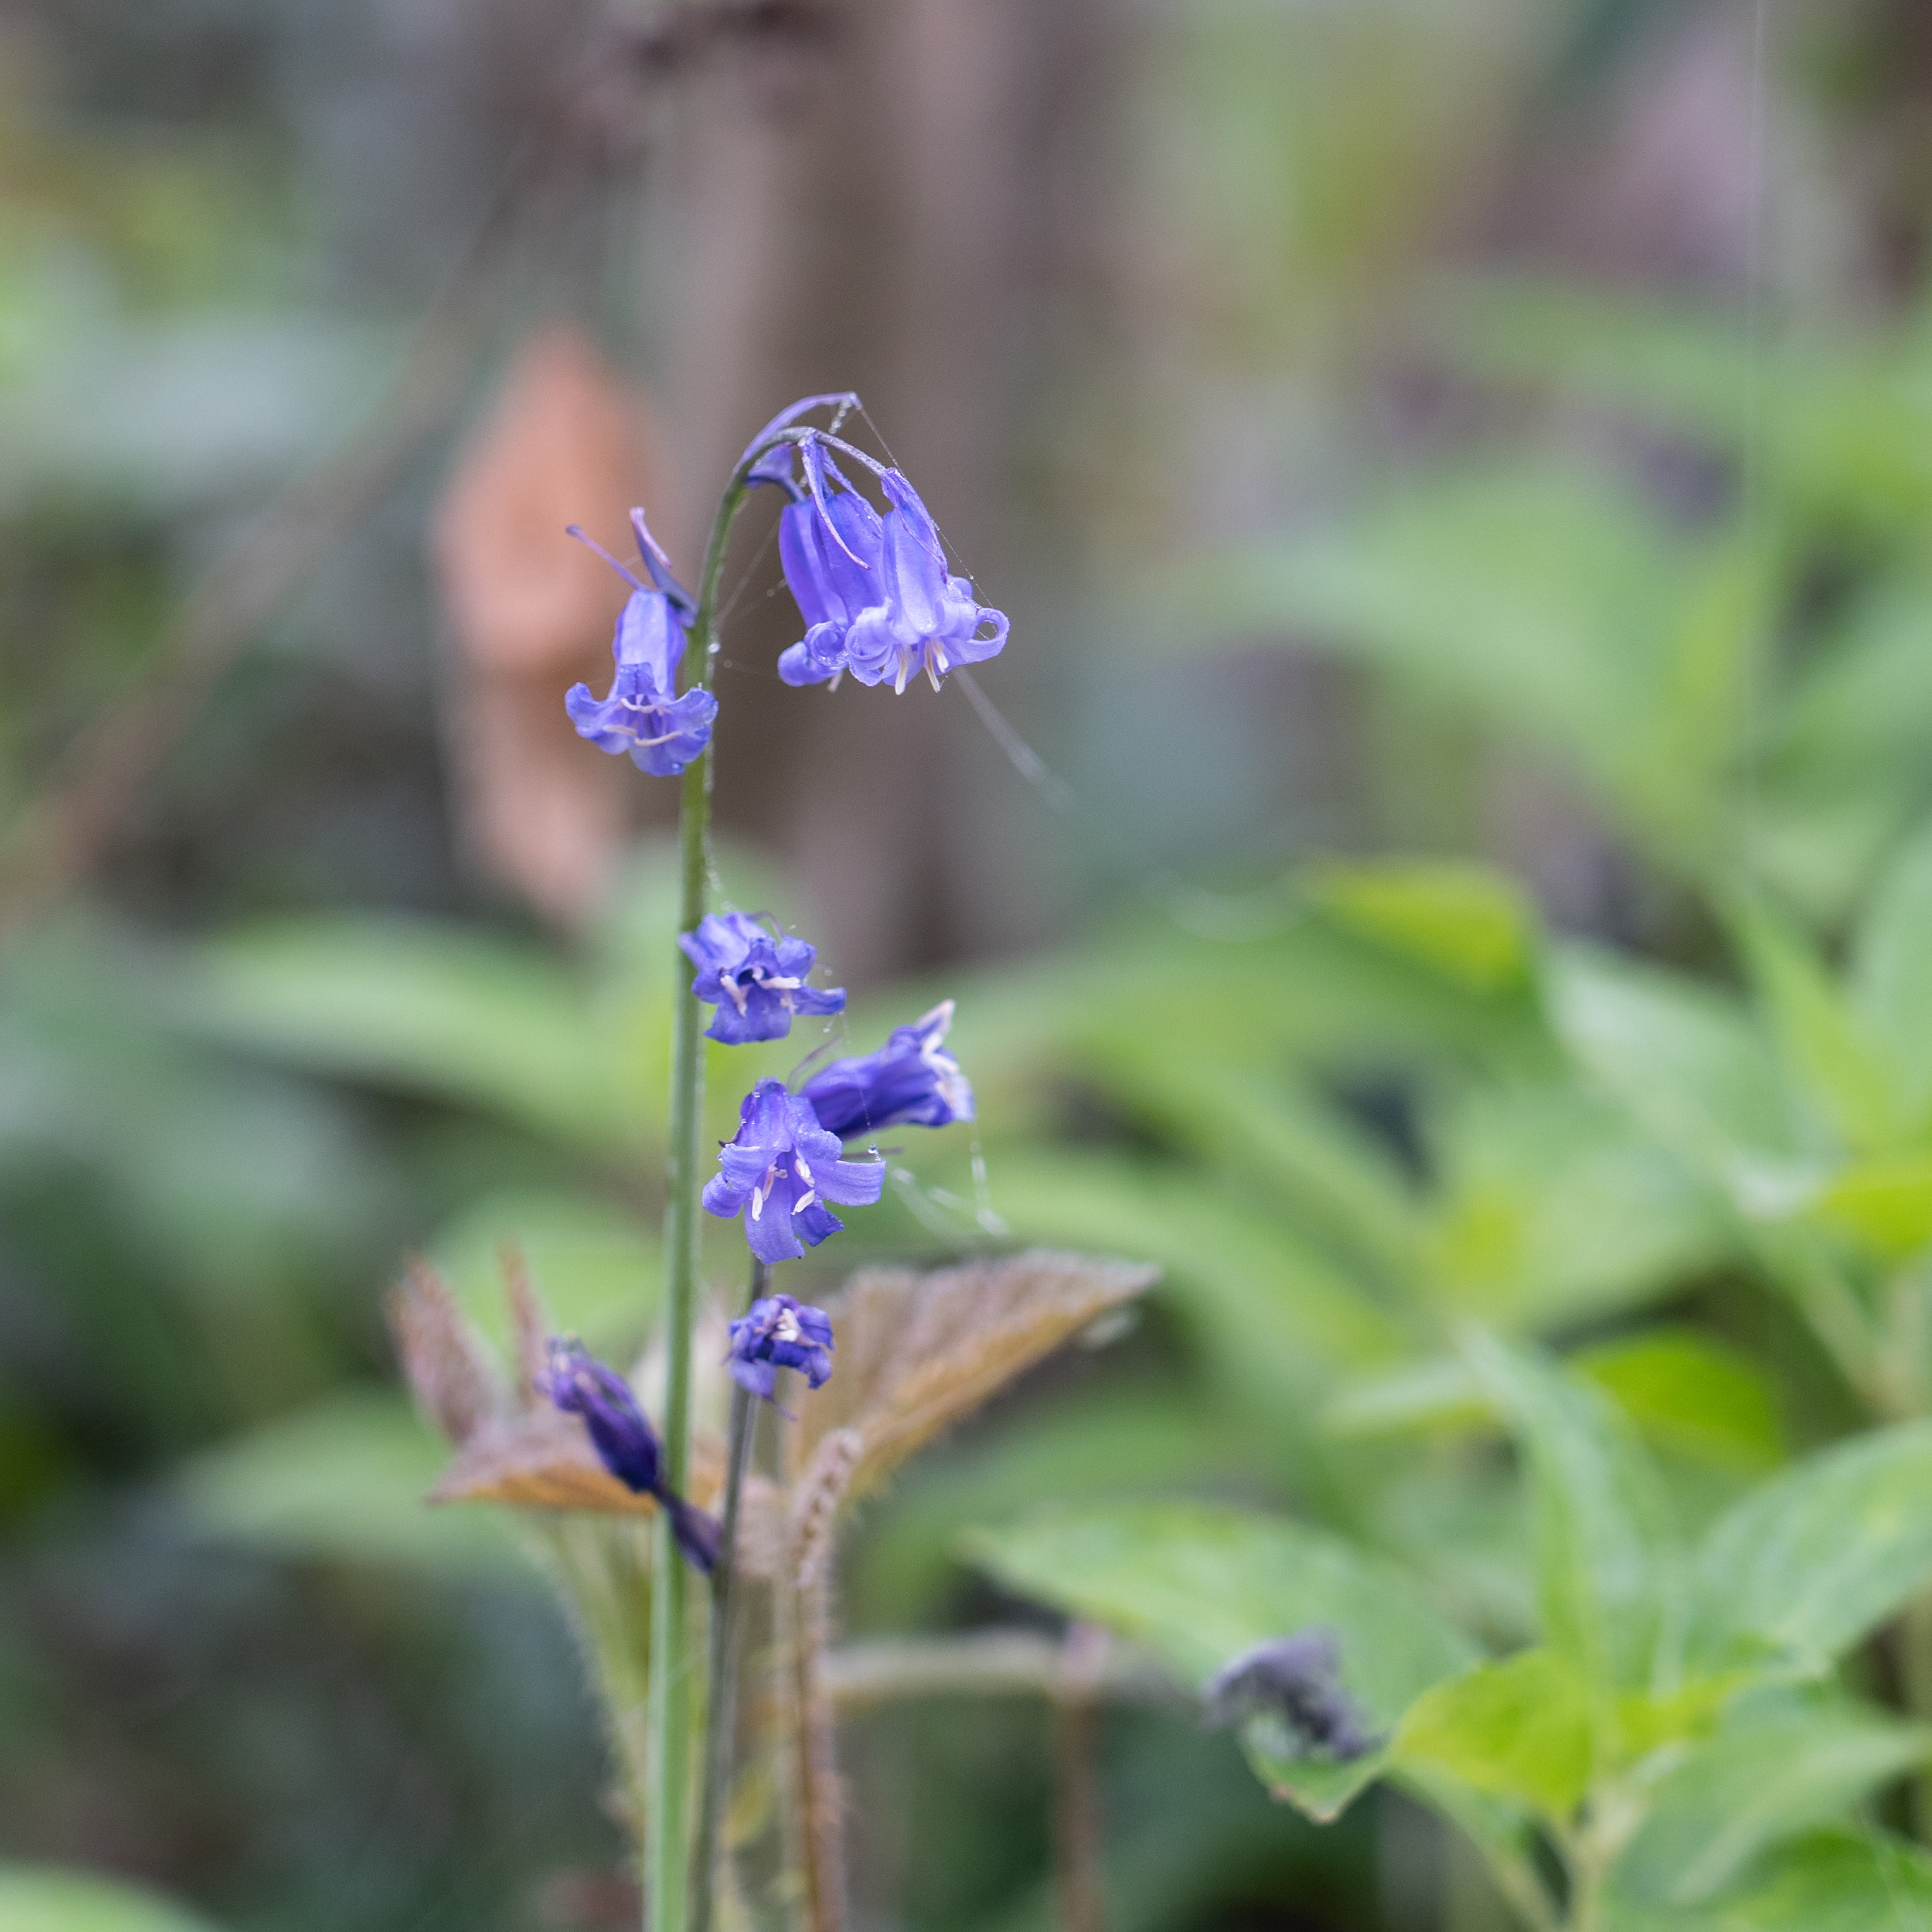
Three examples of using depth of field to focus your attention on what I want you to look at
In these 3 example photos below your attention is drawn immediately to the foreground subject (what’s in focus) and the background is so blurred it doesn’t matter. If you try to do this and you aren’t getting the results you want please contact me at nick@footprintphoto.biz and I will do my best to help