I’ve had a camera with me for as long as I can remember and some years ago took the opportunity to turn a hobby into a profession. I love showing people how to get the best out of their cameras and I must have trained upwards of 500 people over the last few years.
One of the most satisfying ways to take a great photo is to focus the viewers eye on what you want them to see and blur the rest out.
Your eyes do this naturally and Hollywood film makers focus your attention on just where they want it by selectively focusing. Watch a clip of two people talking in a film and you will generally see the focus is sharp on the person talking and then moves to the other person as they speak.
Blurring the background – equipment
To blur a background and put the focus exactly where you want it to be isn’t difficult but you do need some basic equipment and none more basic than a camera with the ability to select “Aperture” as the mode that the camera will use.
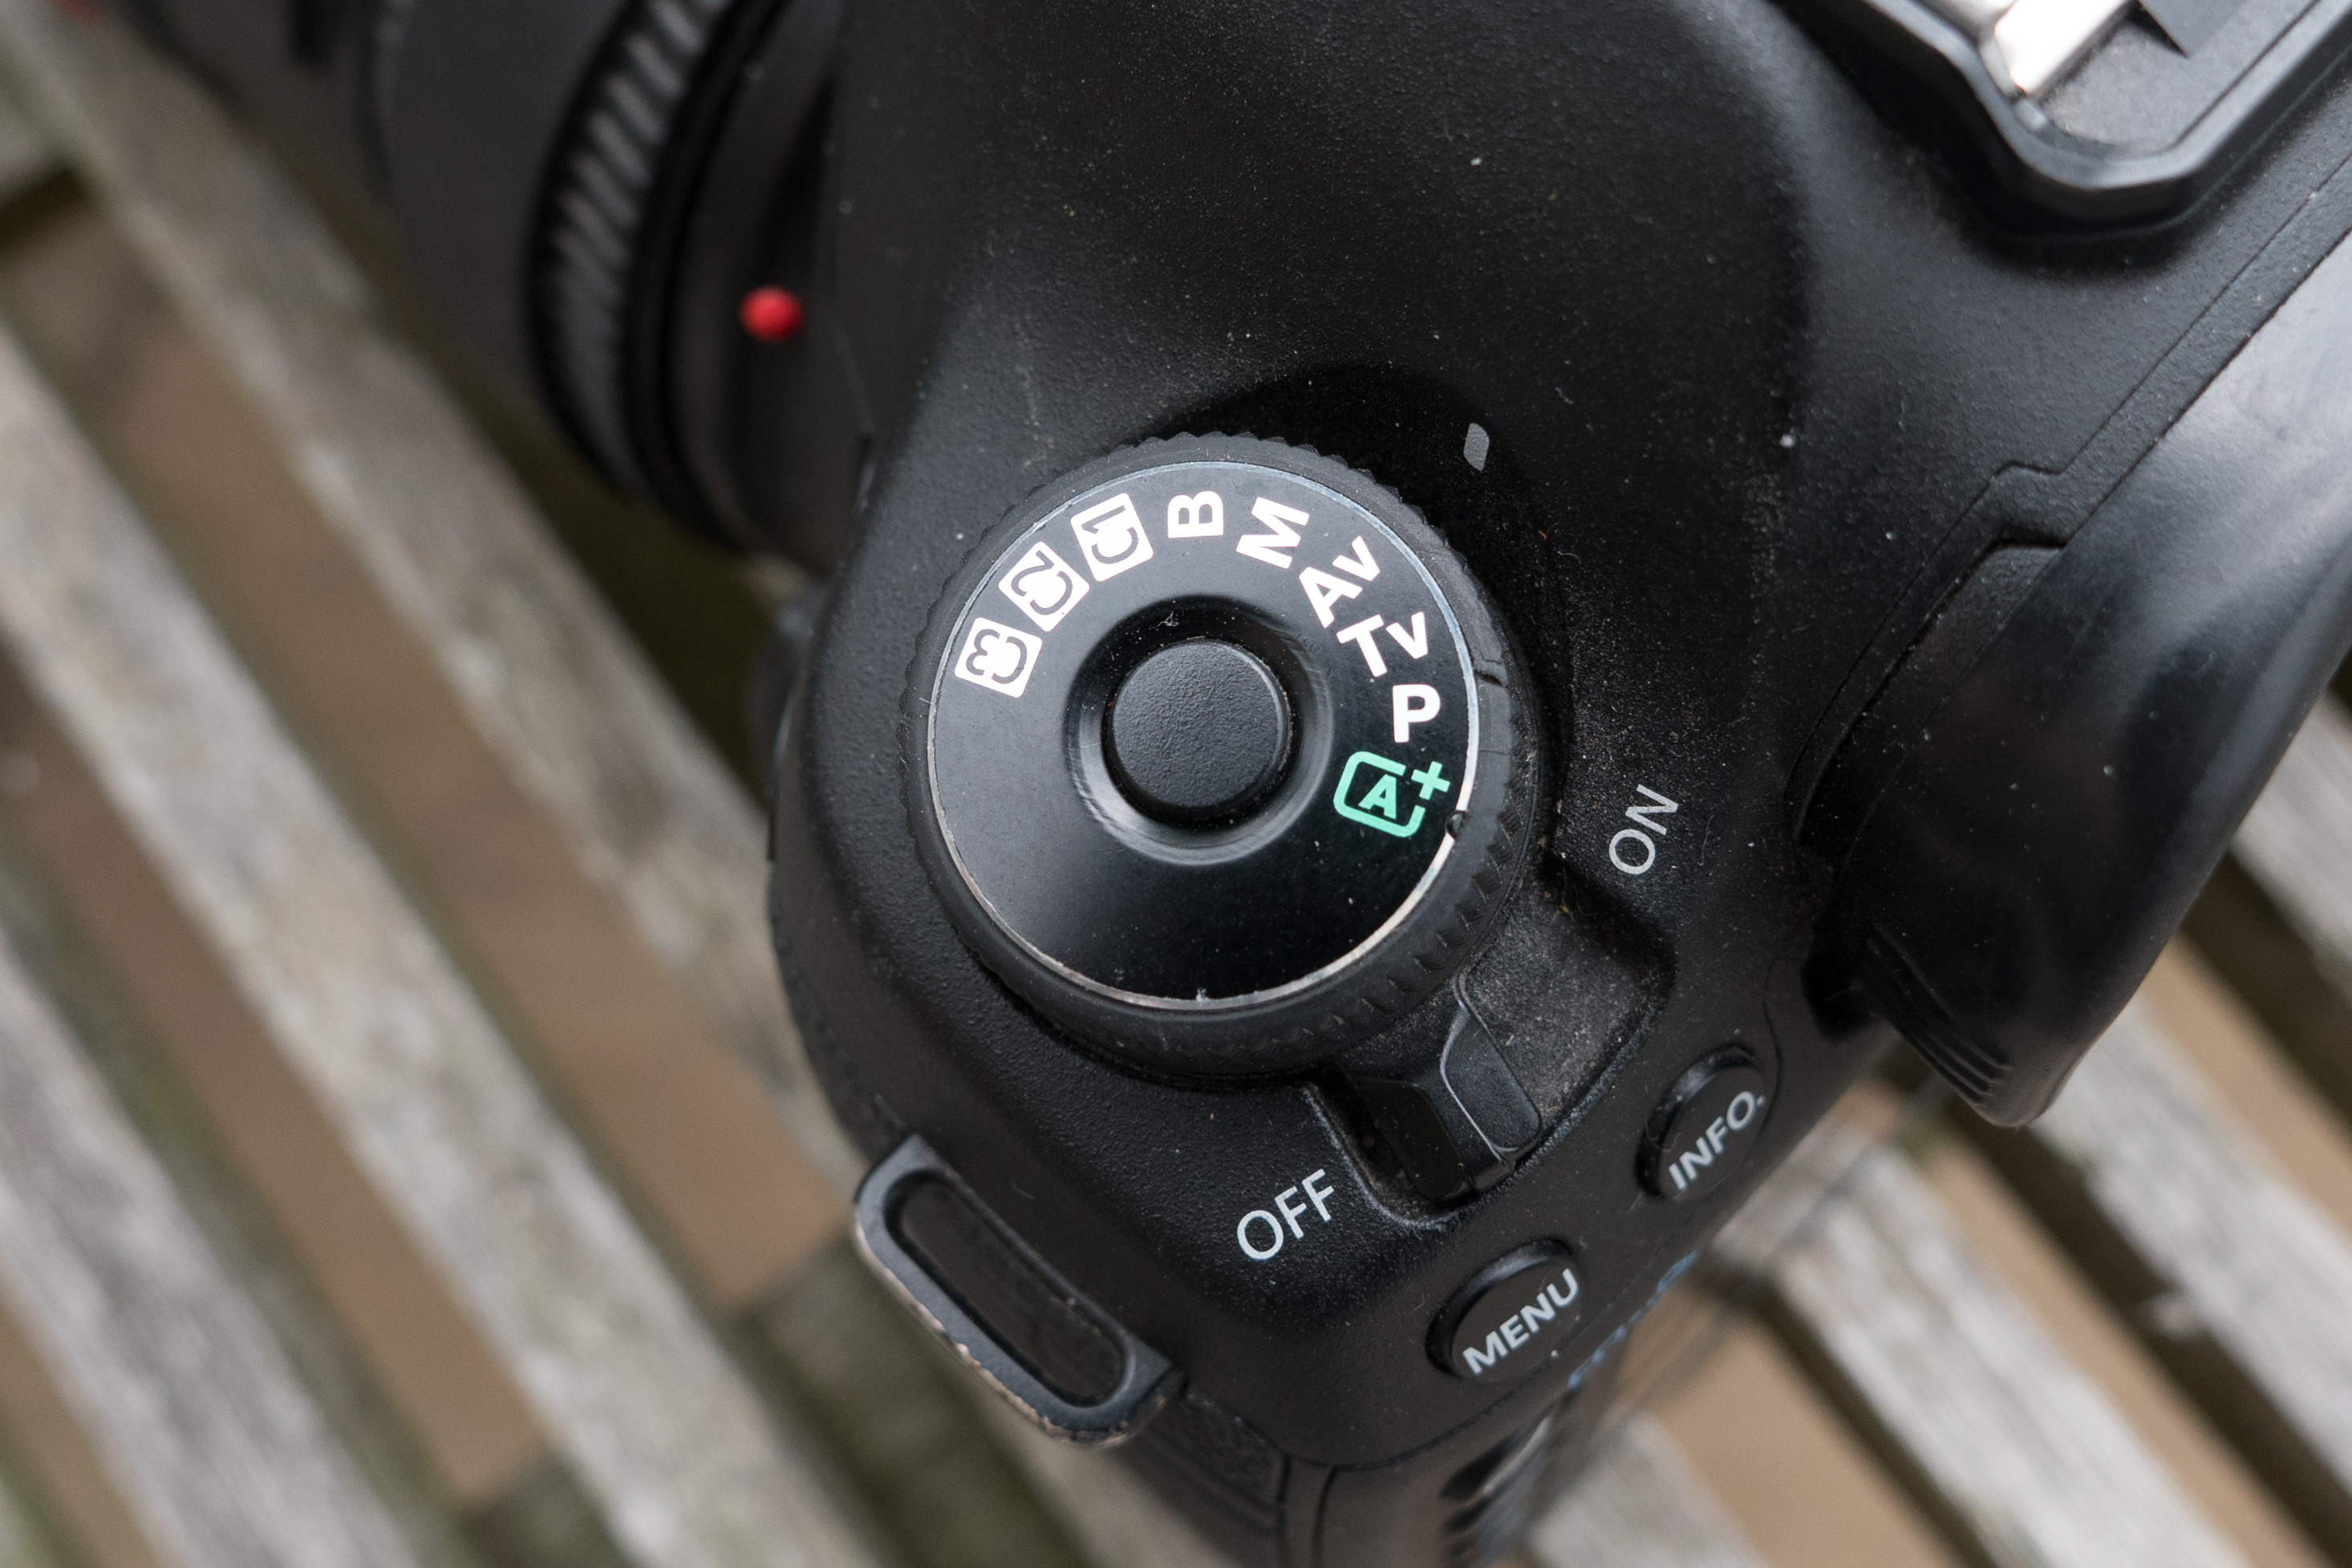
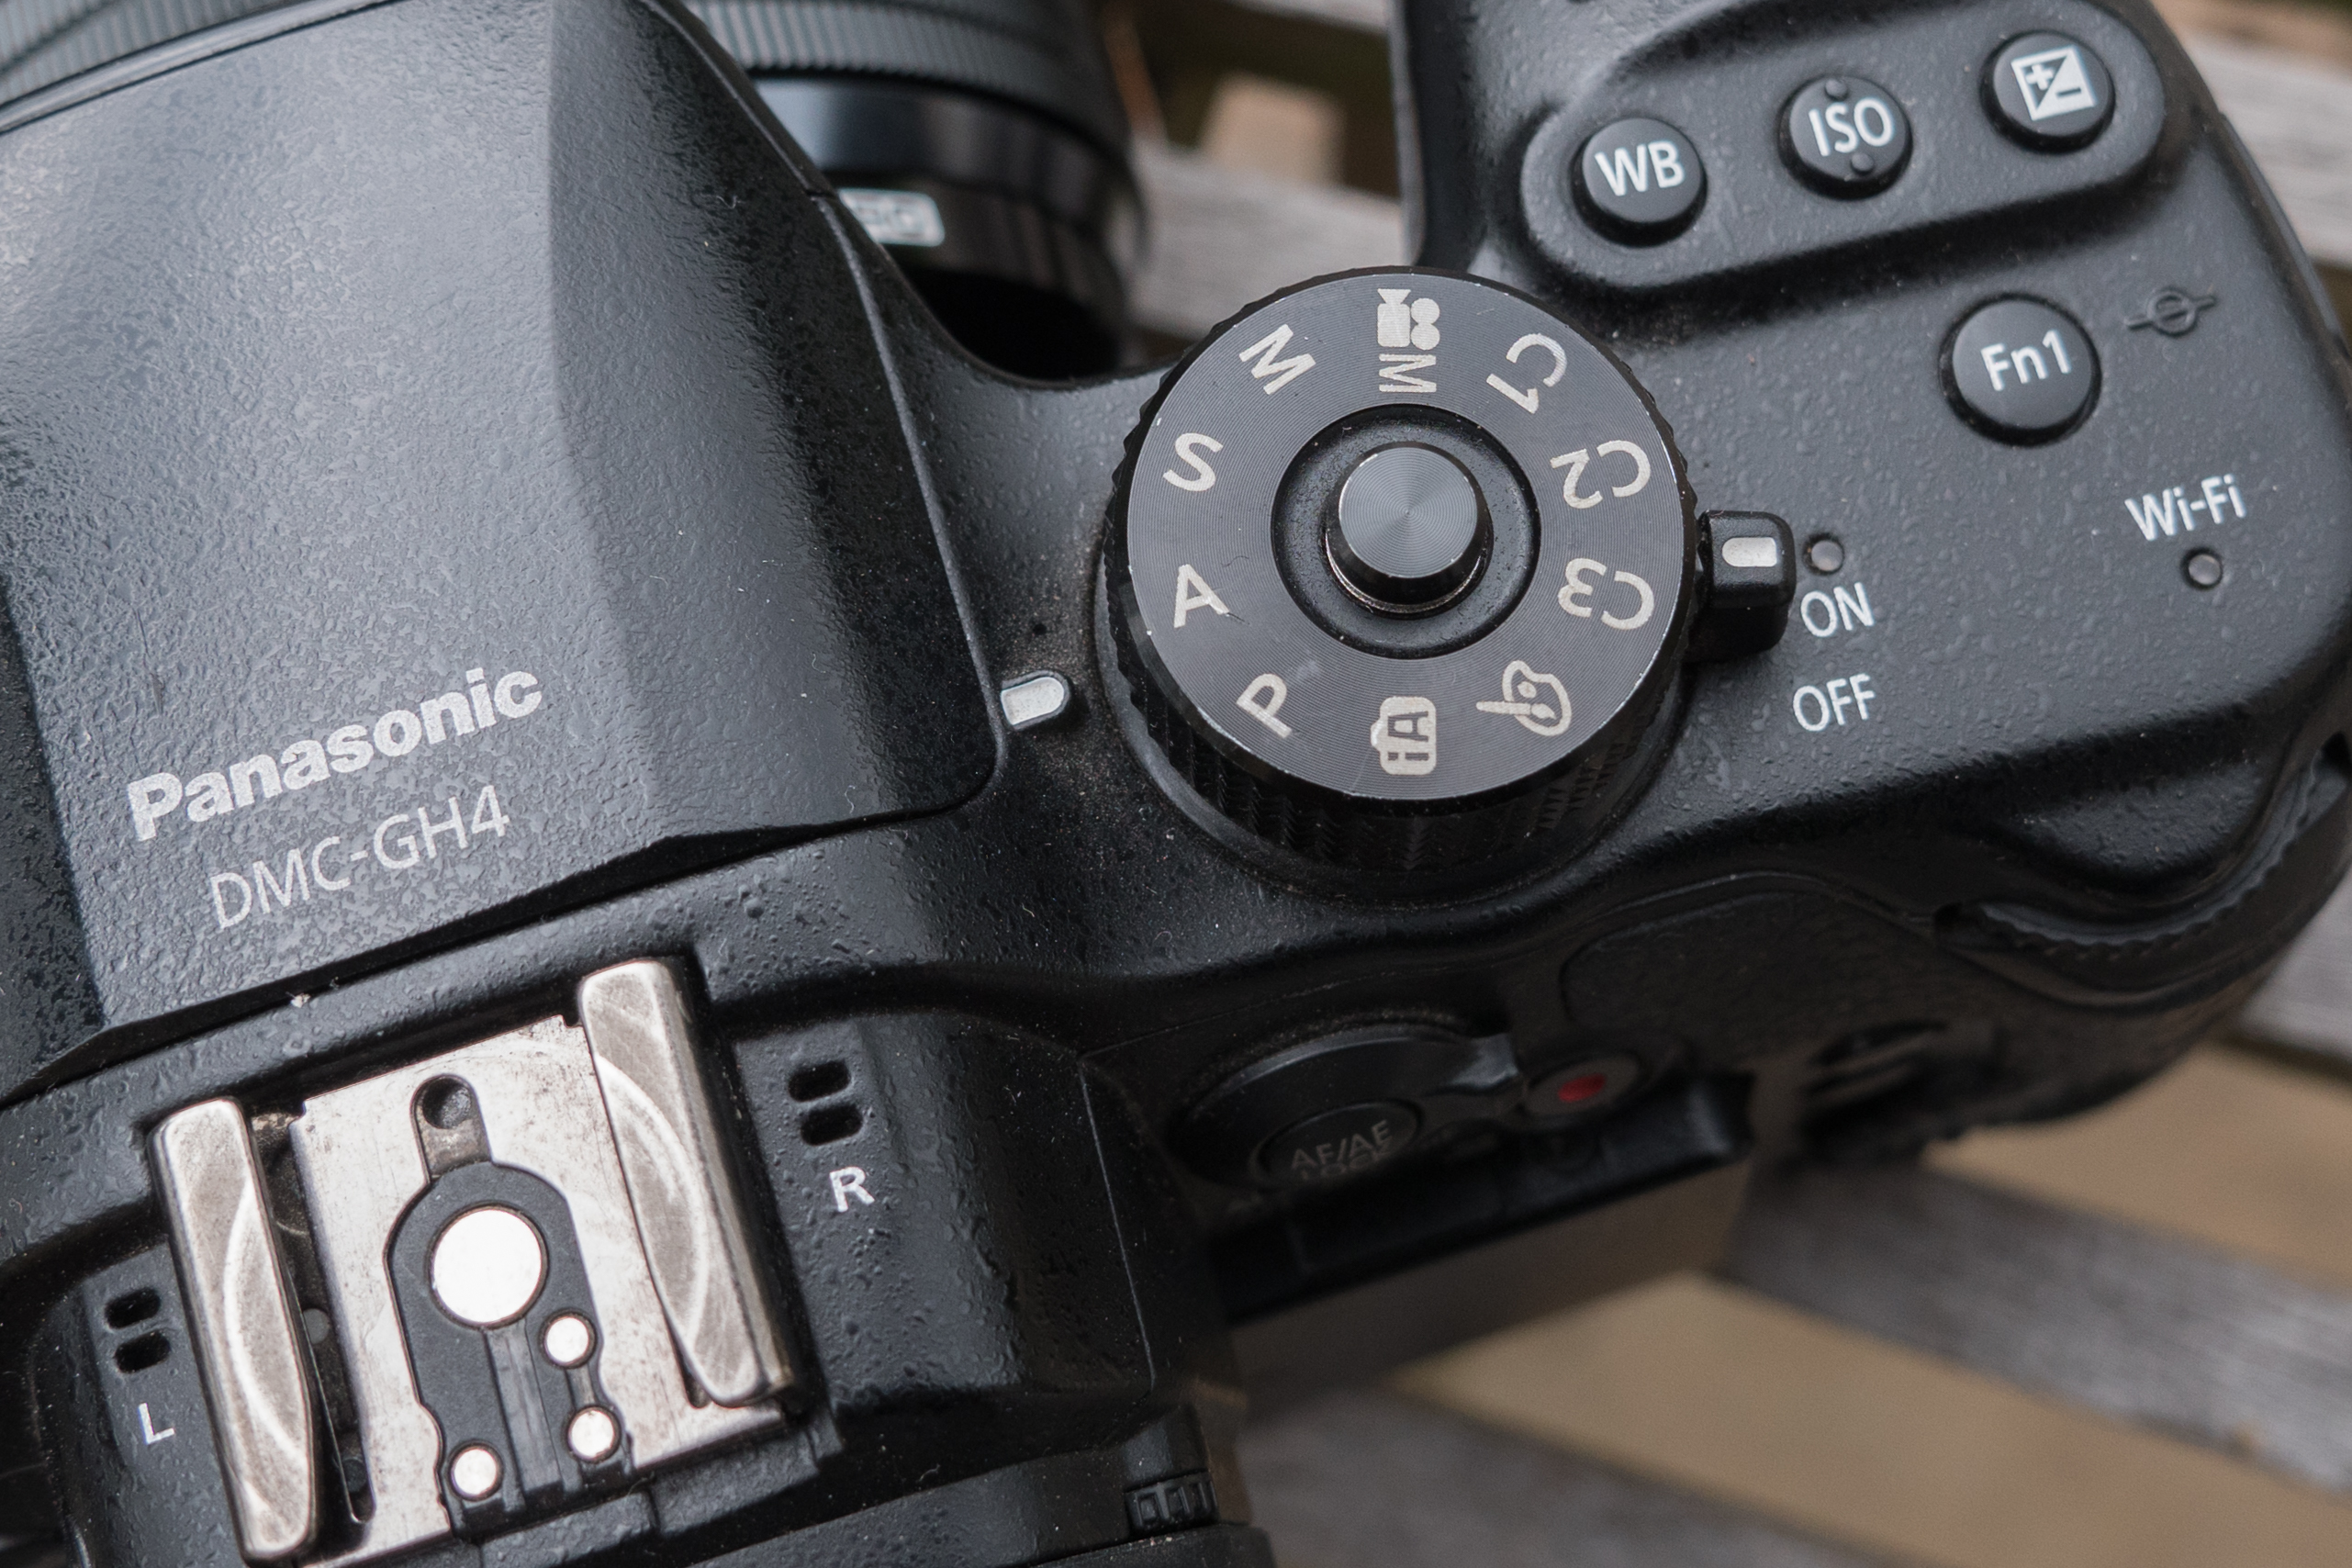
Look on the top of your camera (See example photos below) for a dial that shows (amongst other things) P A S M. P is for Program, A is for Aperture, S is for Shutter and M is for Manual.
Canon cameras – If you have a Canon camera then will see P, TV, AV, M. P is still Program, TV stands for Time Value which is Shutter by another name. AV stands for Aperture Value which is Aperture – Don’t ask me why Canon went this route, just accept they did!
Blurring the background – setting up the camera
Set the dial to either A or AV as mentioned above and then set the smallest number for aperture you can. This will probably be just a case of looking through the viewfinder and turning a scroll wheel on the top or back of the camera.
The aperture range of your camera will be determined somewhat by the lens you are using but if you rotate the scroll wheel one way the numbers will increase and the other way they will get smaller. The range will be something like 2.8 / 3.5 / 4.0 up to 22. Some cameras have an F before the number and some don’t – just turn the dial until you get the smallest number.
As something to remember the smaller the number the shallower the depth of field (what’s in focus and what isn’t) and the larger the number the larger the depth of field.
For instance if you wanted to shoot landscapes you would set something like F16
OK, so now we have the camera set to Aperture and we’ve dialed in the smallest number possible we are just about ready to go.
Before you go dashing off into the wide blue yonder though do a quick practice at home.
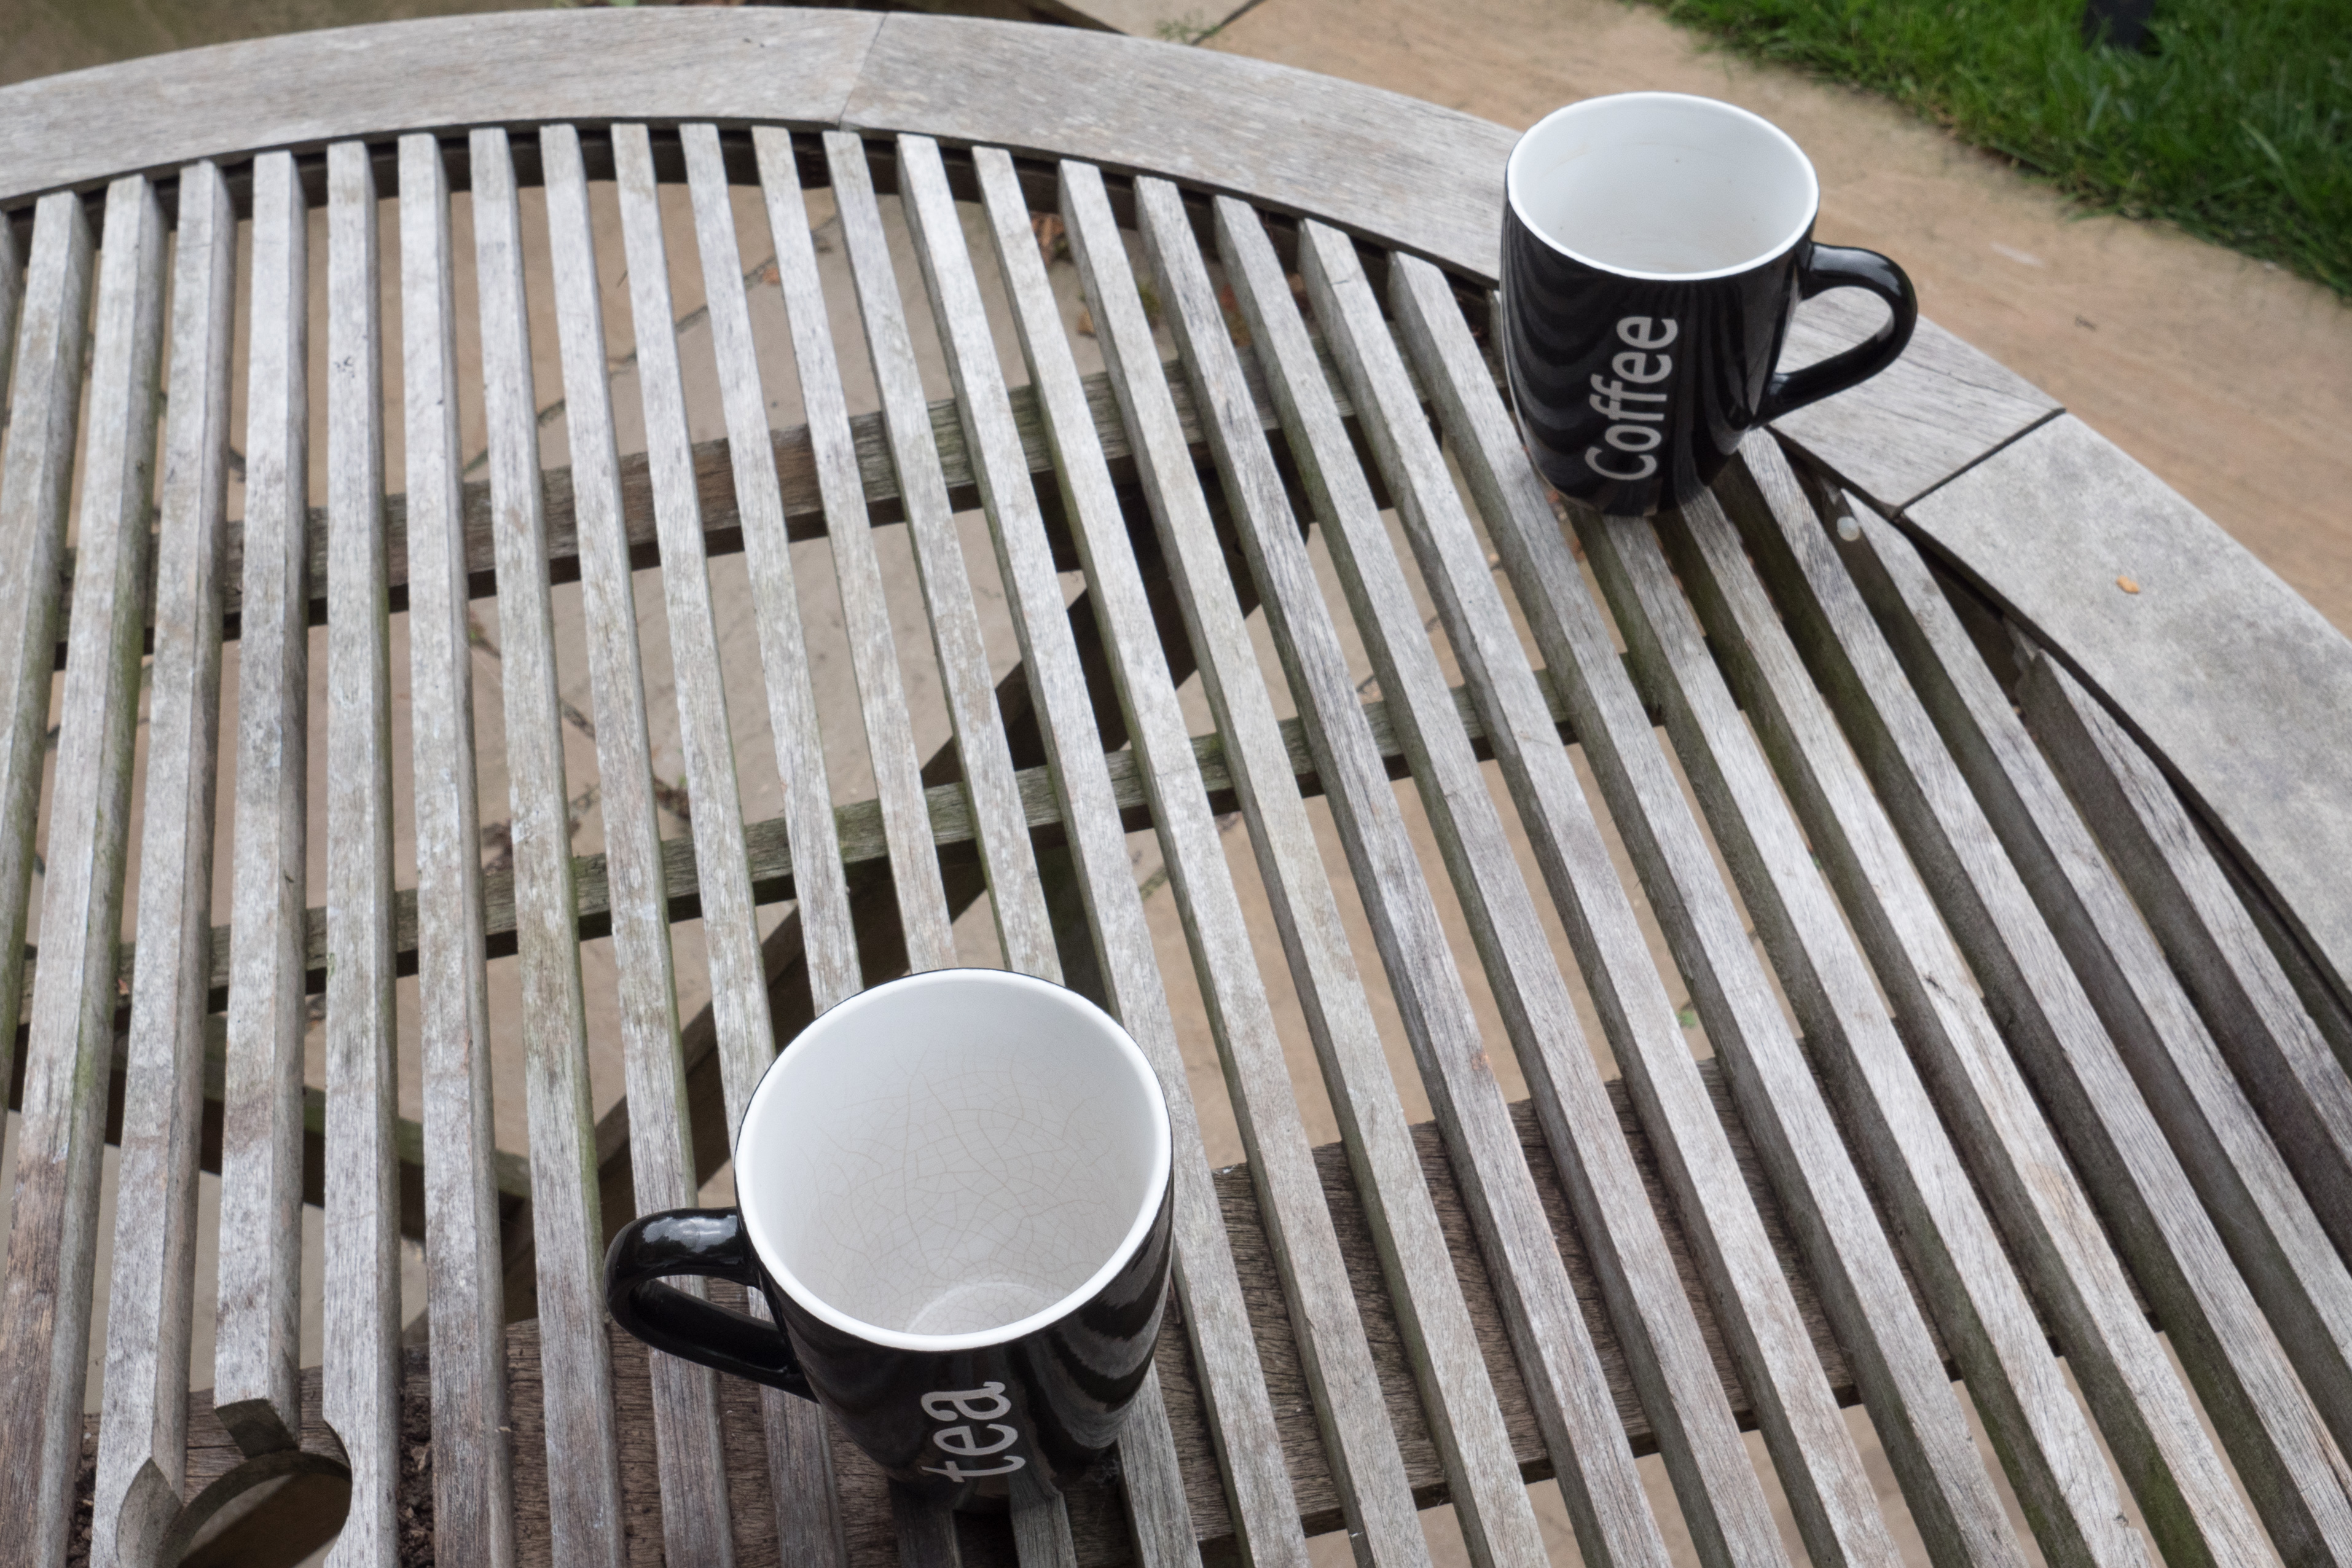
Get a couple of coffee mugs and set them up outside (See example photos) about 6 inches apart widthways and about a couple of feet lengthways from each other.
Now get as close as you can to the mug that is closest to you but not so close that your camera can’t focus. If this happens just pull the camera back a little until it locks on and take a photo.
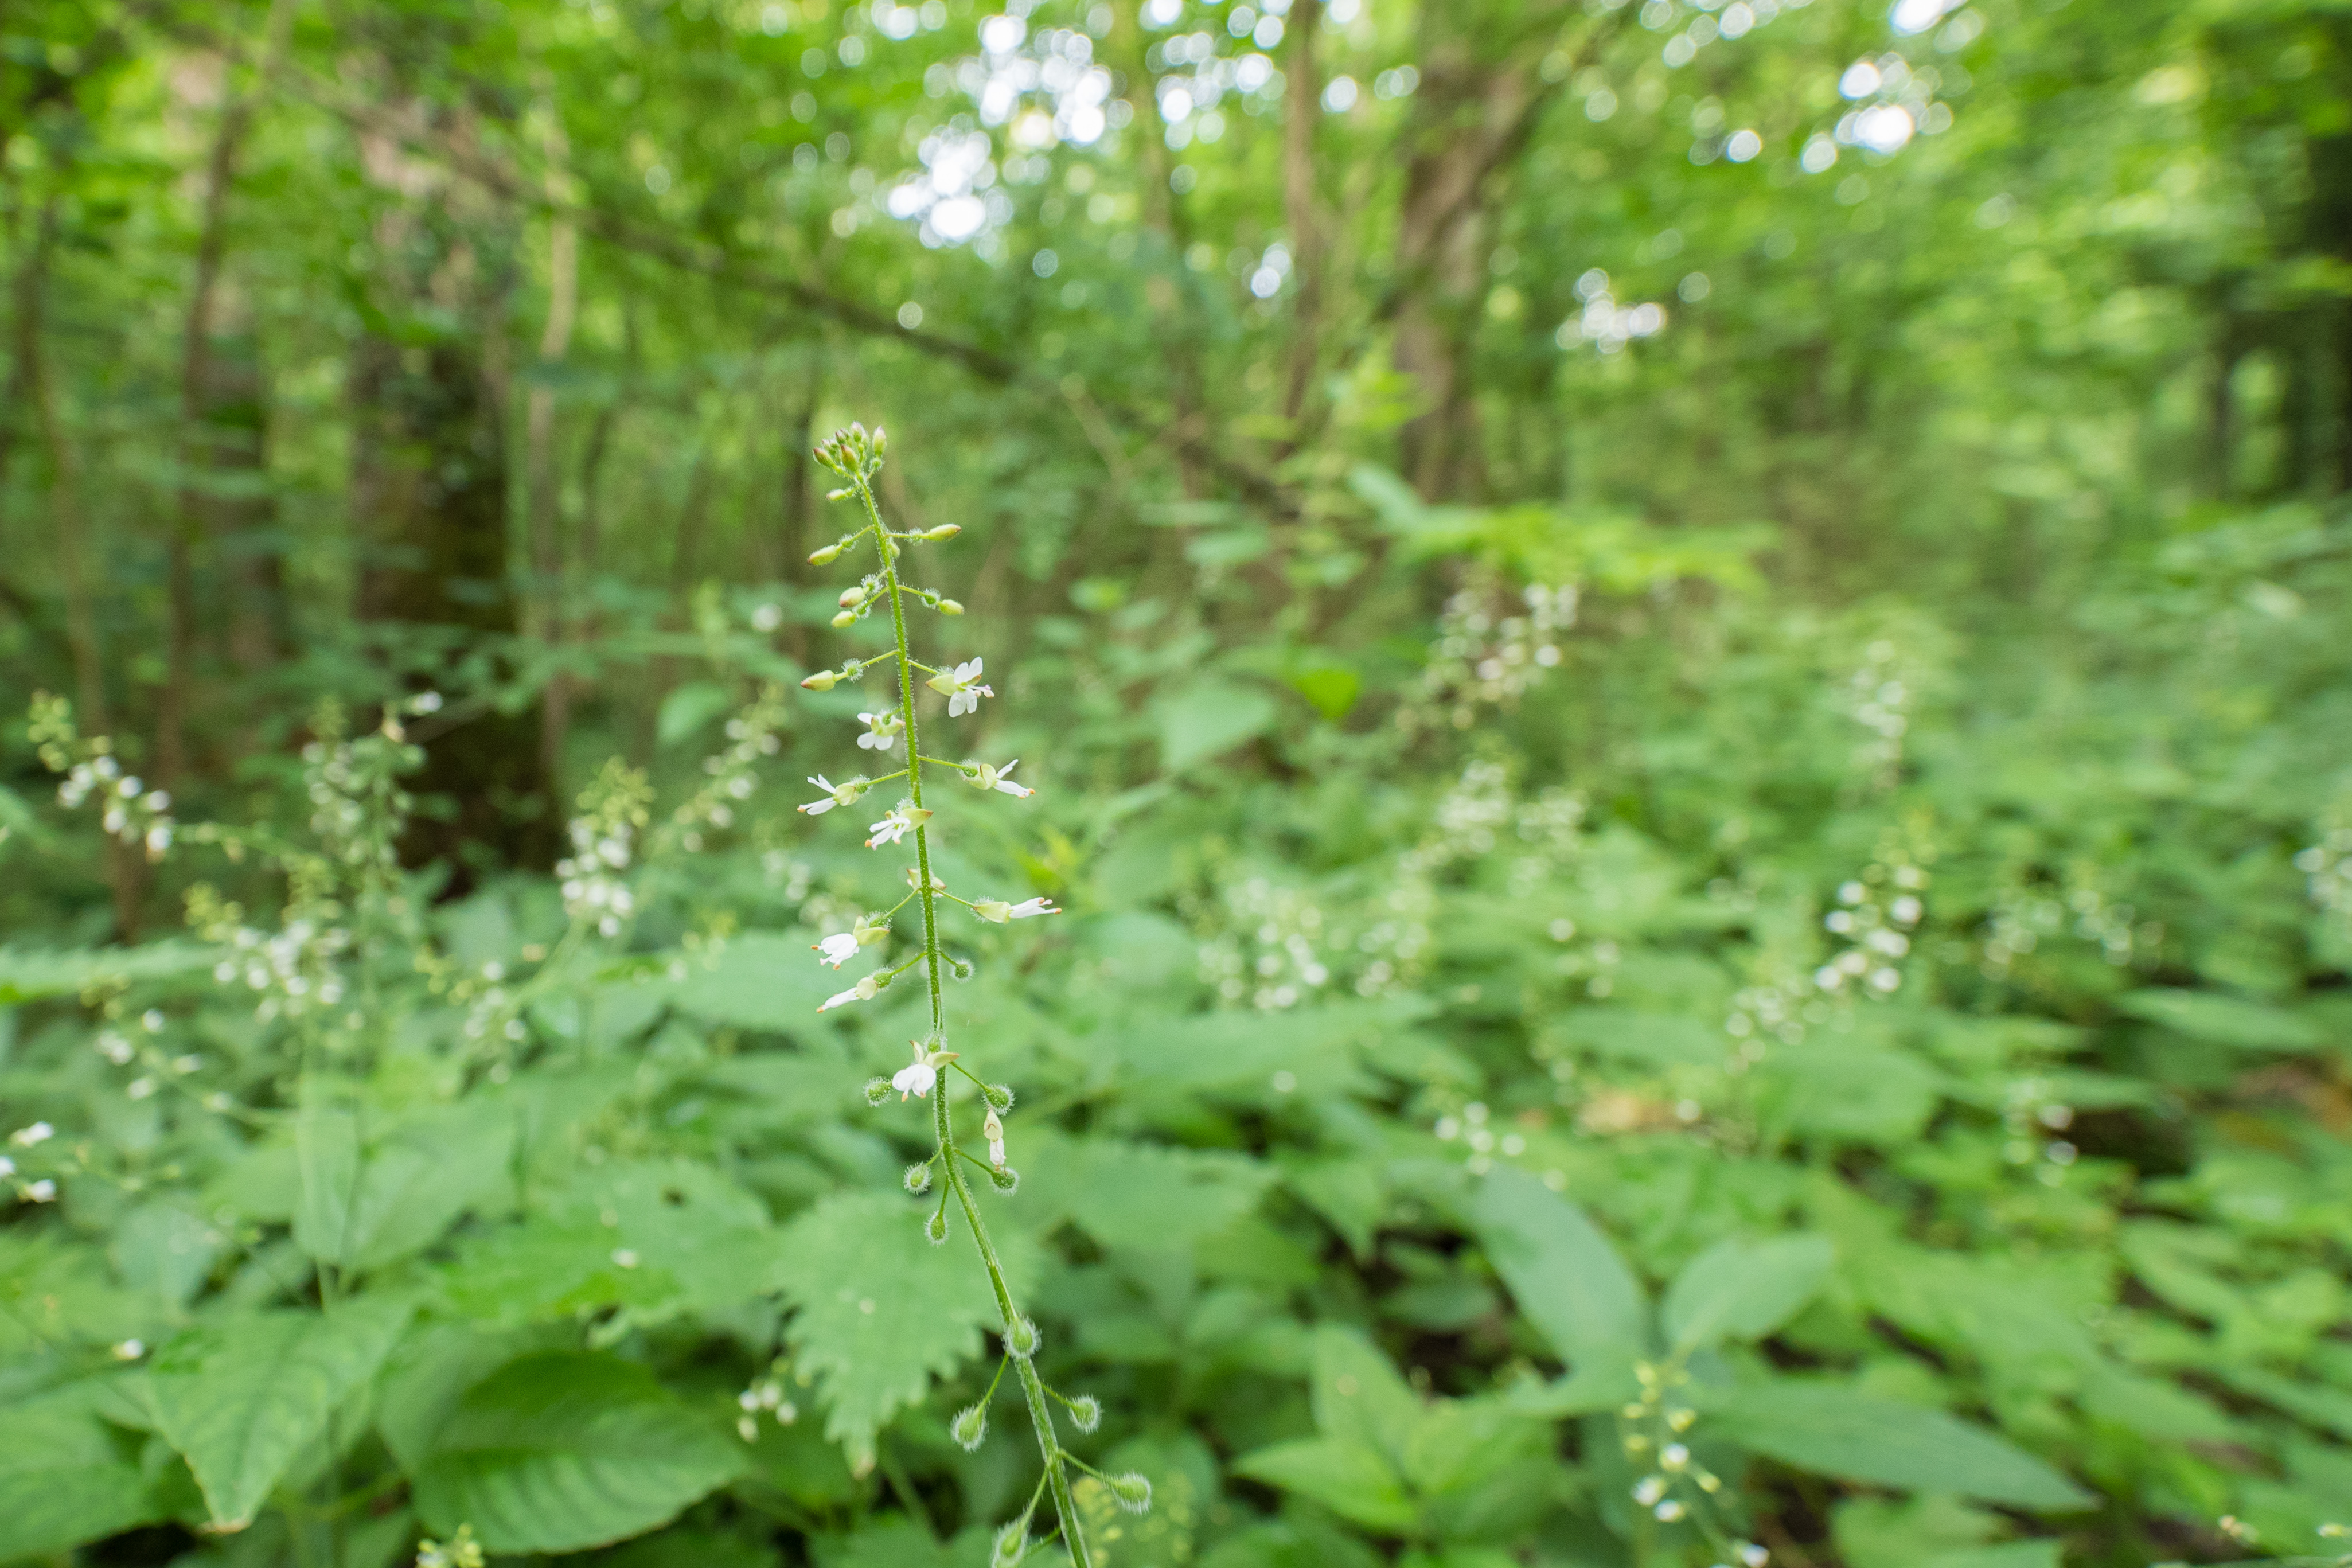
The result should be that front mug you have focused on will be nice and sharp and the mug at the back will be pleasantly out of focus (see the photos below for an example). If you can do that you are ready to go and have fun outside.
Blurring the background – additional information
Your eyes are naturally drawn to things that are in focus and tend to disregard things that are out of focus as items of less importance.
By using the methods described in this tutorial you will focus your viewers attention exactly where you want it to be.
Once you’ve mastered the basics of selective focus and blurring the background (this blurring is also called Bokeh) you can experiment and get more intuitive with your results.
If, for instance you’ve taken your shot and the background is a little too out of focus for your liking the quickest fix is just to pull the camera back further from the main subject and reshoot.
The further back you move the camera from the main subject the sharper and more in focus the background will become.
The other method of making the background less out of focus is to change the F number to a bigger value. Let’s say you started at F4 and the background is too out of focus just change to a bigger number and take test shots raising the number F5.6, F6.3, F8, F11 etc until you get the result you want.
If you can’t get the results you want . . .
Call me or email me on 07964 10 9 8 7 6 or nick@footprintphoto.biz and I will help
The photos that are connected to this blog
Click on any photo to enlarge it and then use the side arrows on the screen or on your keyboard to move through the gallery.
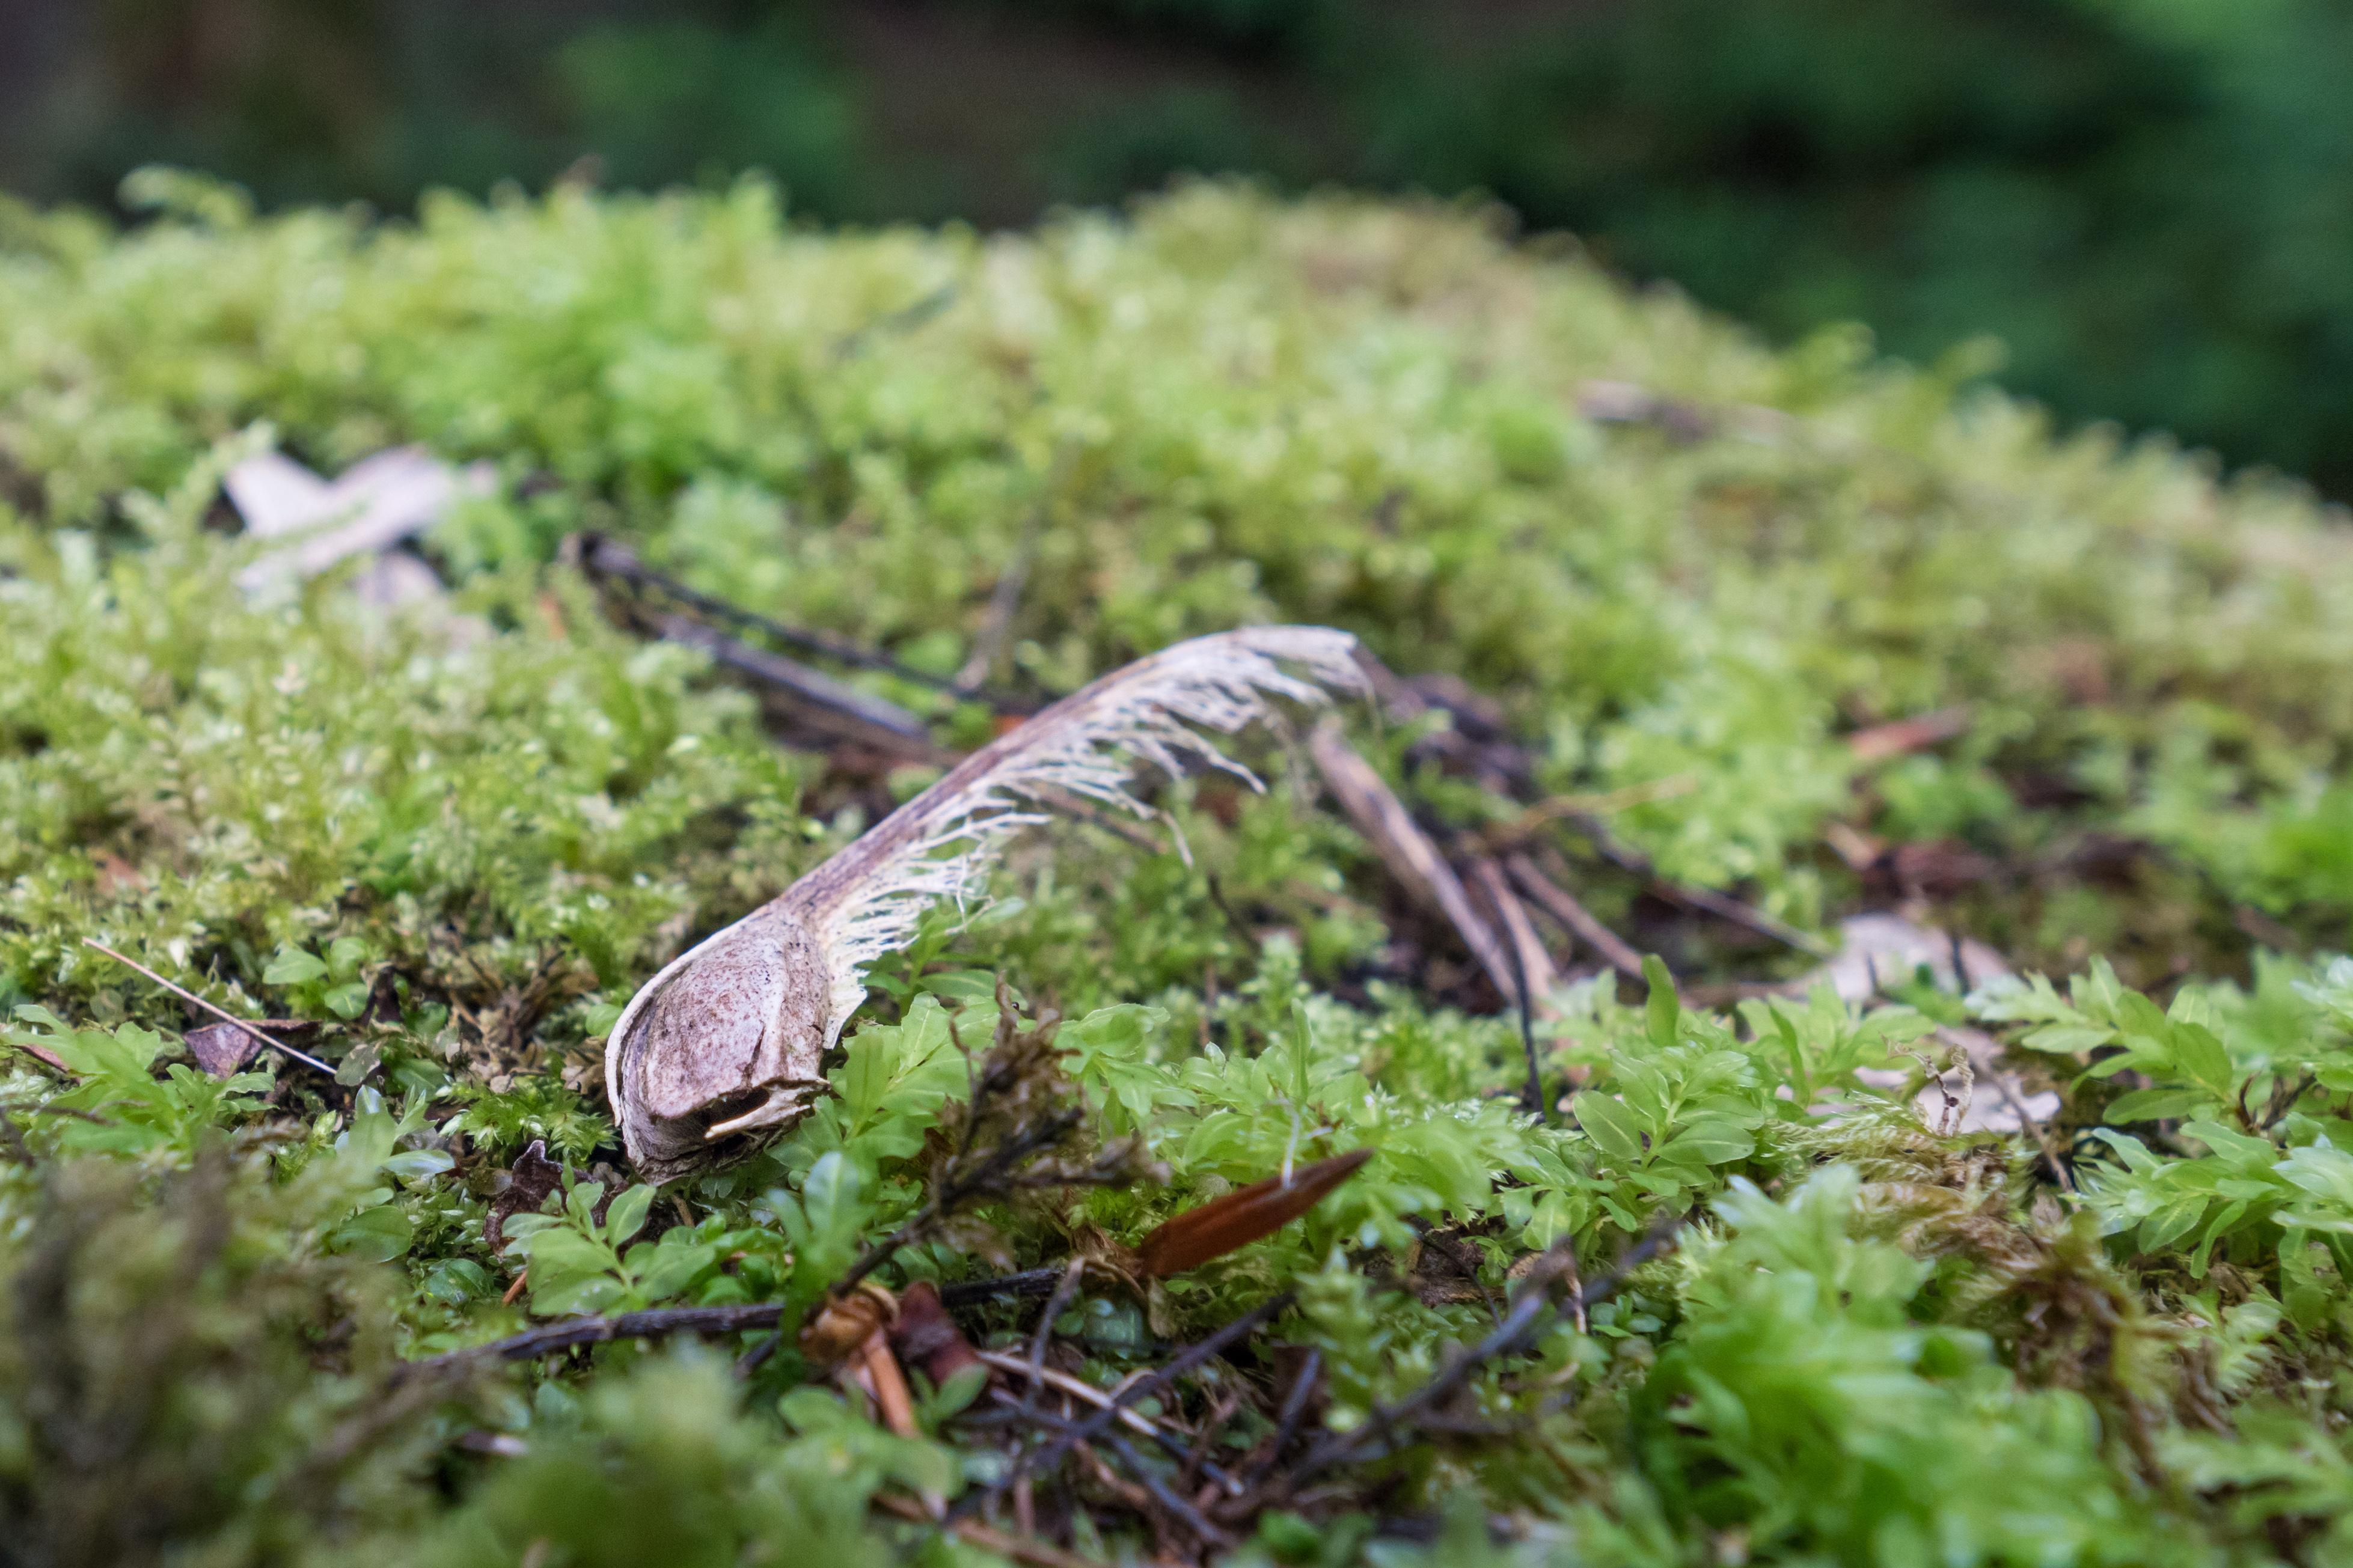
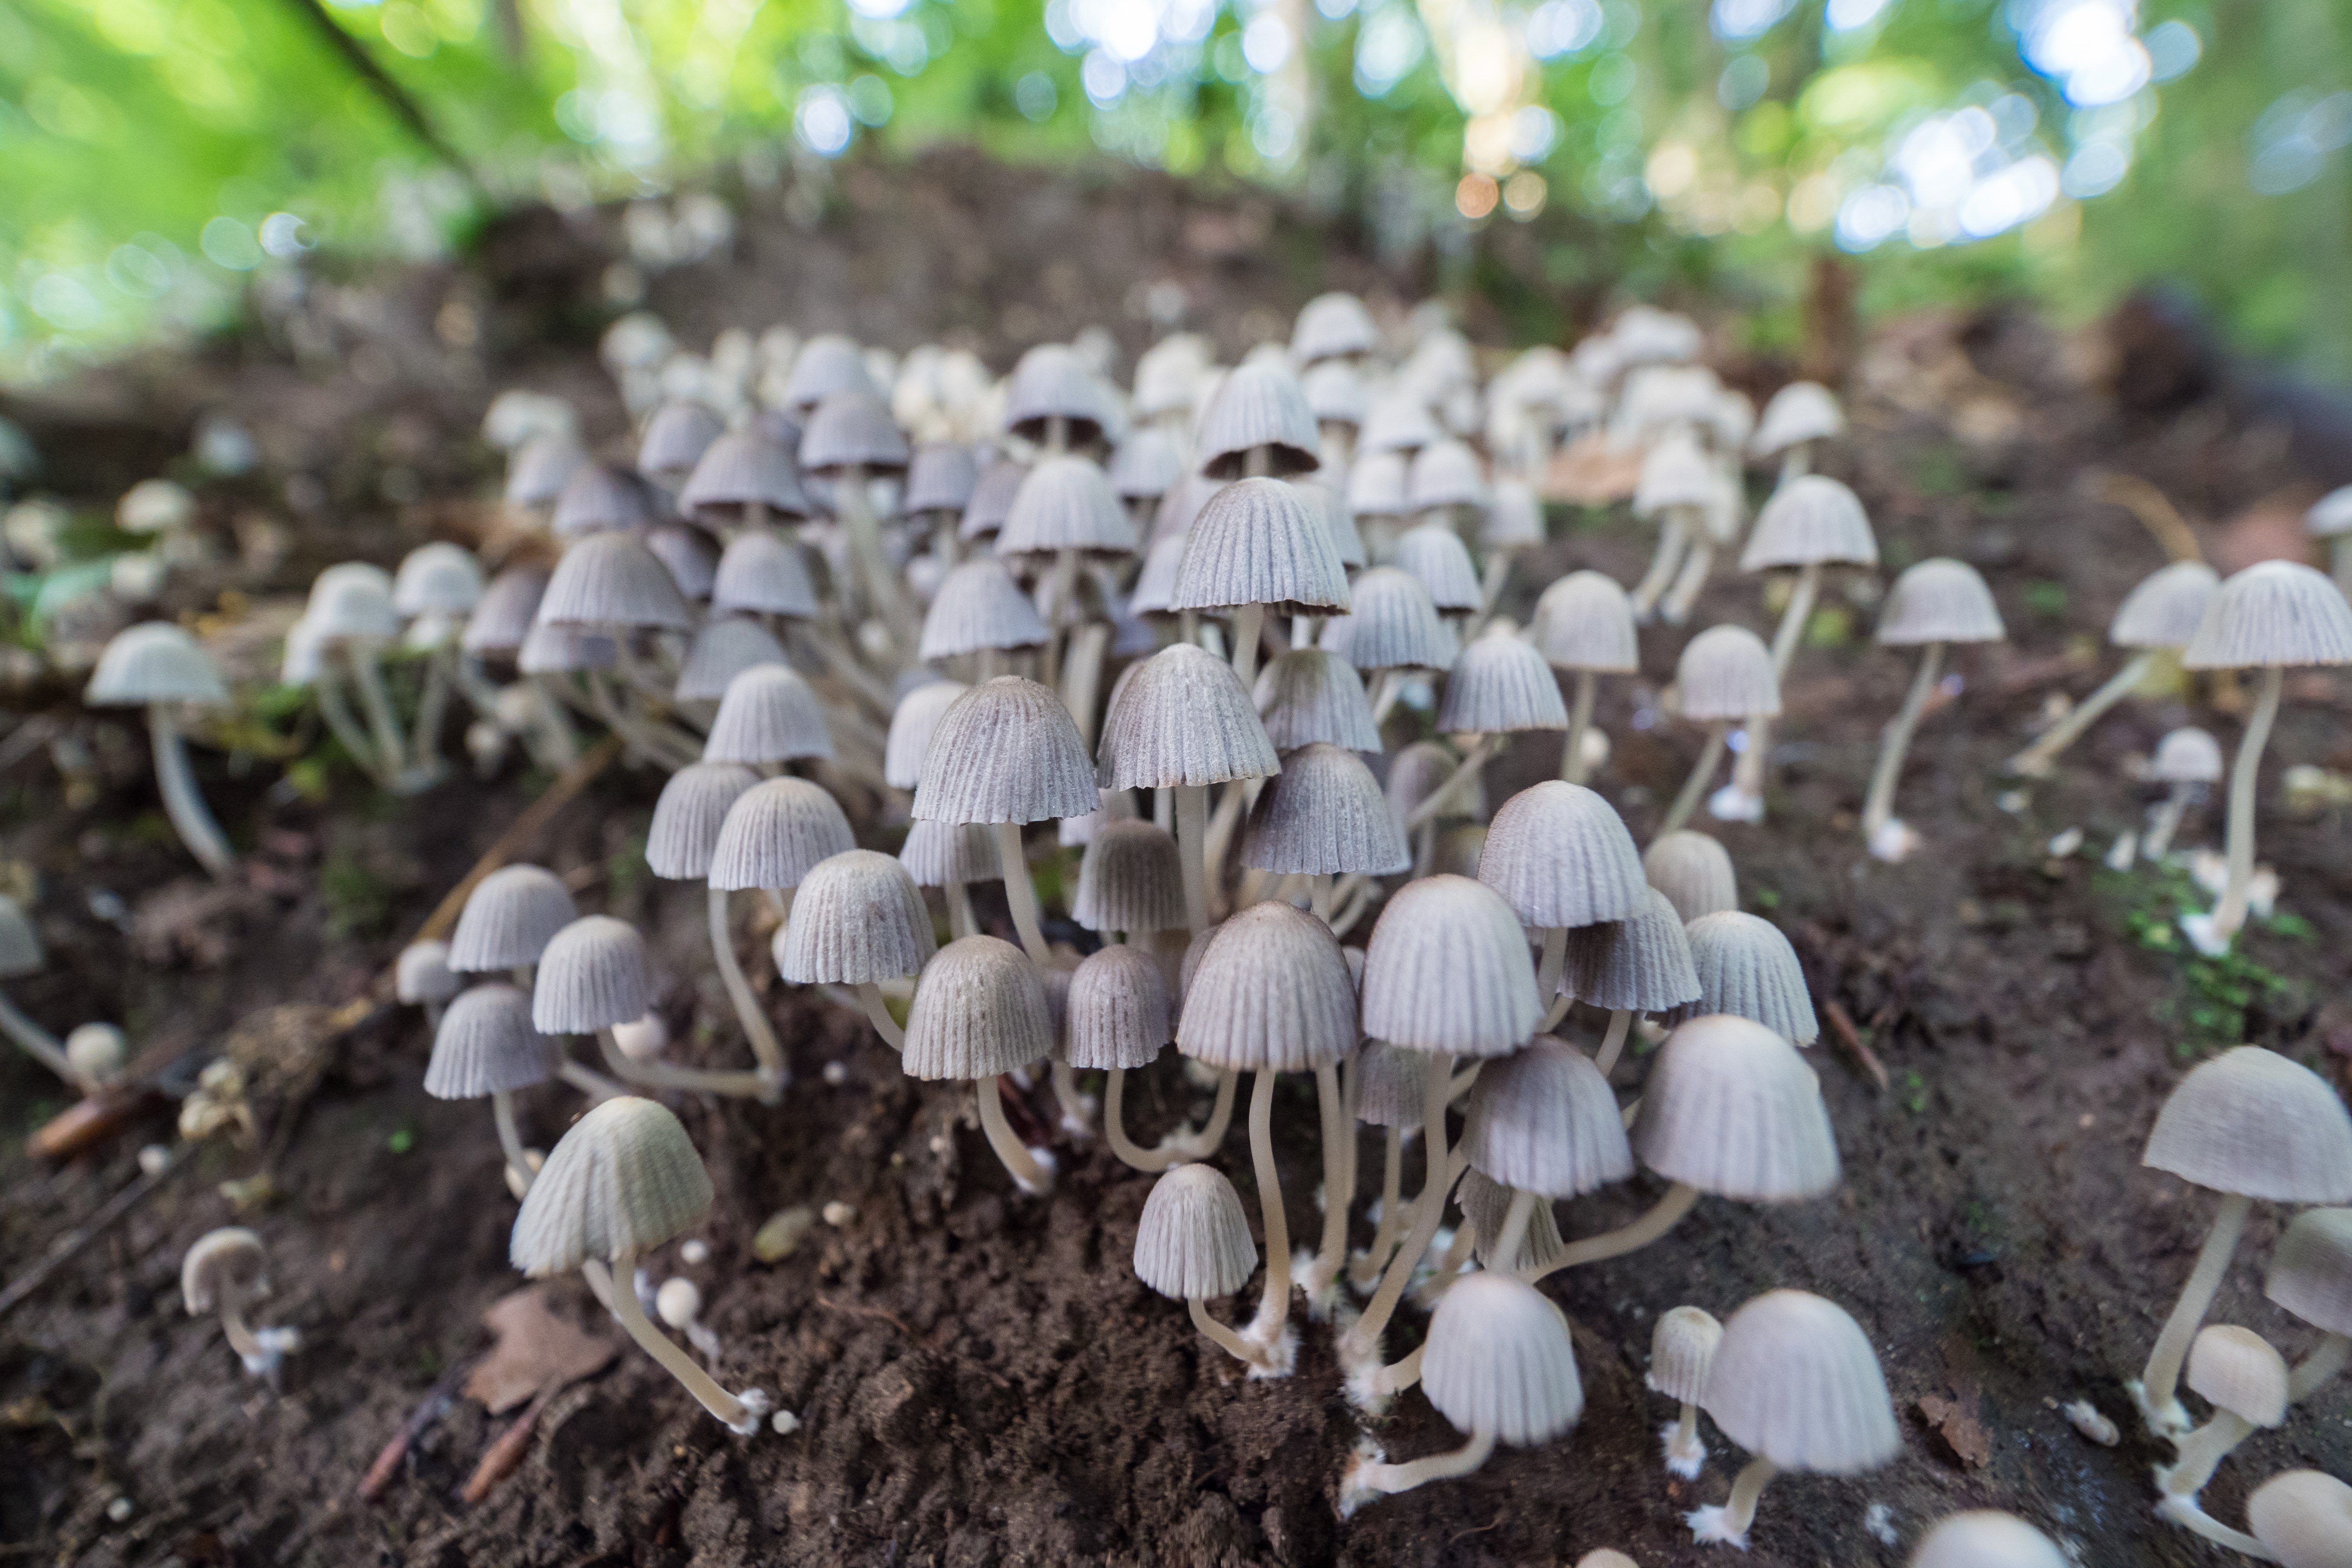
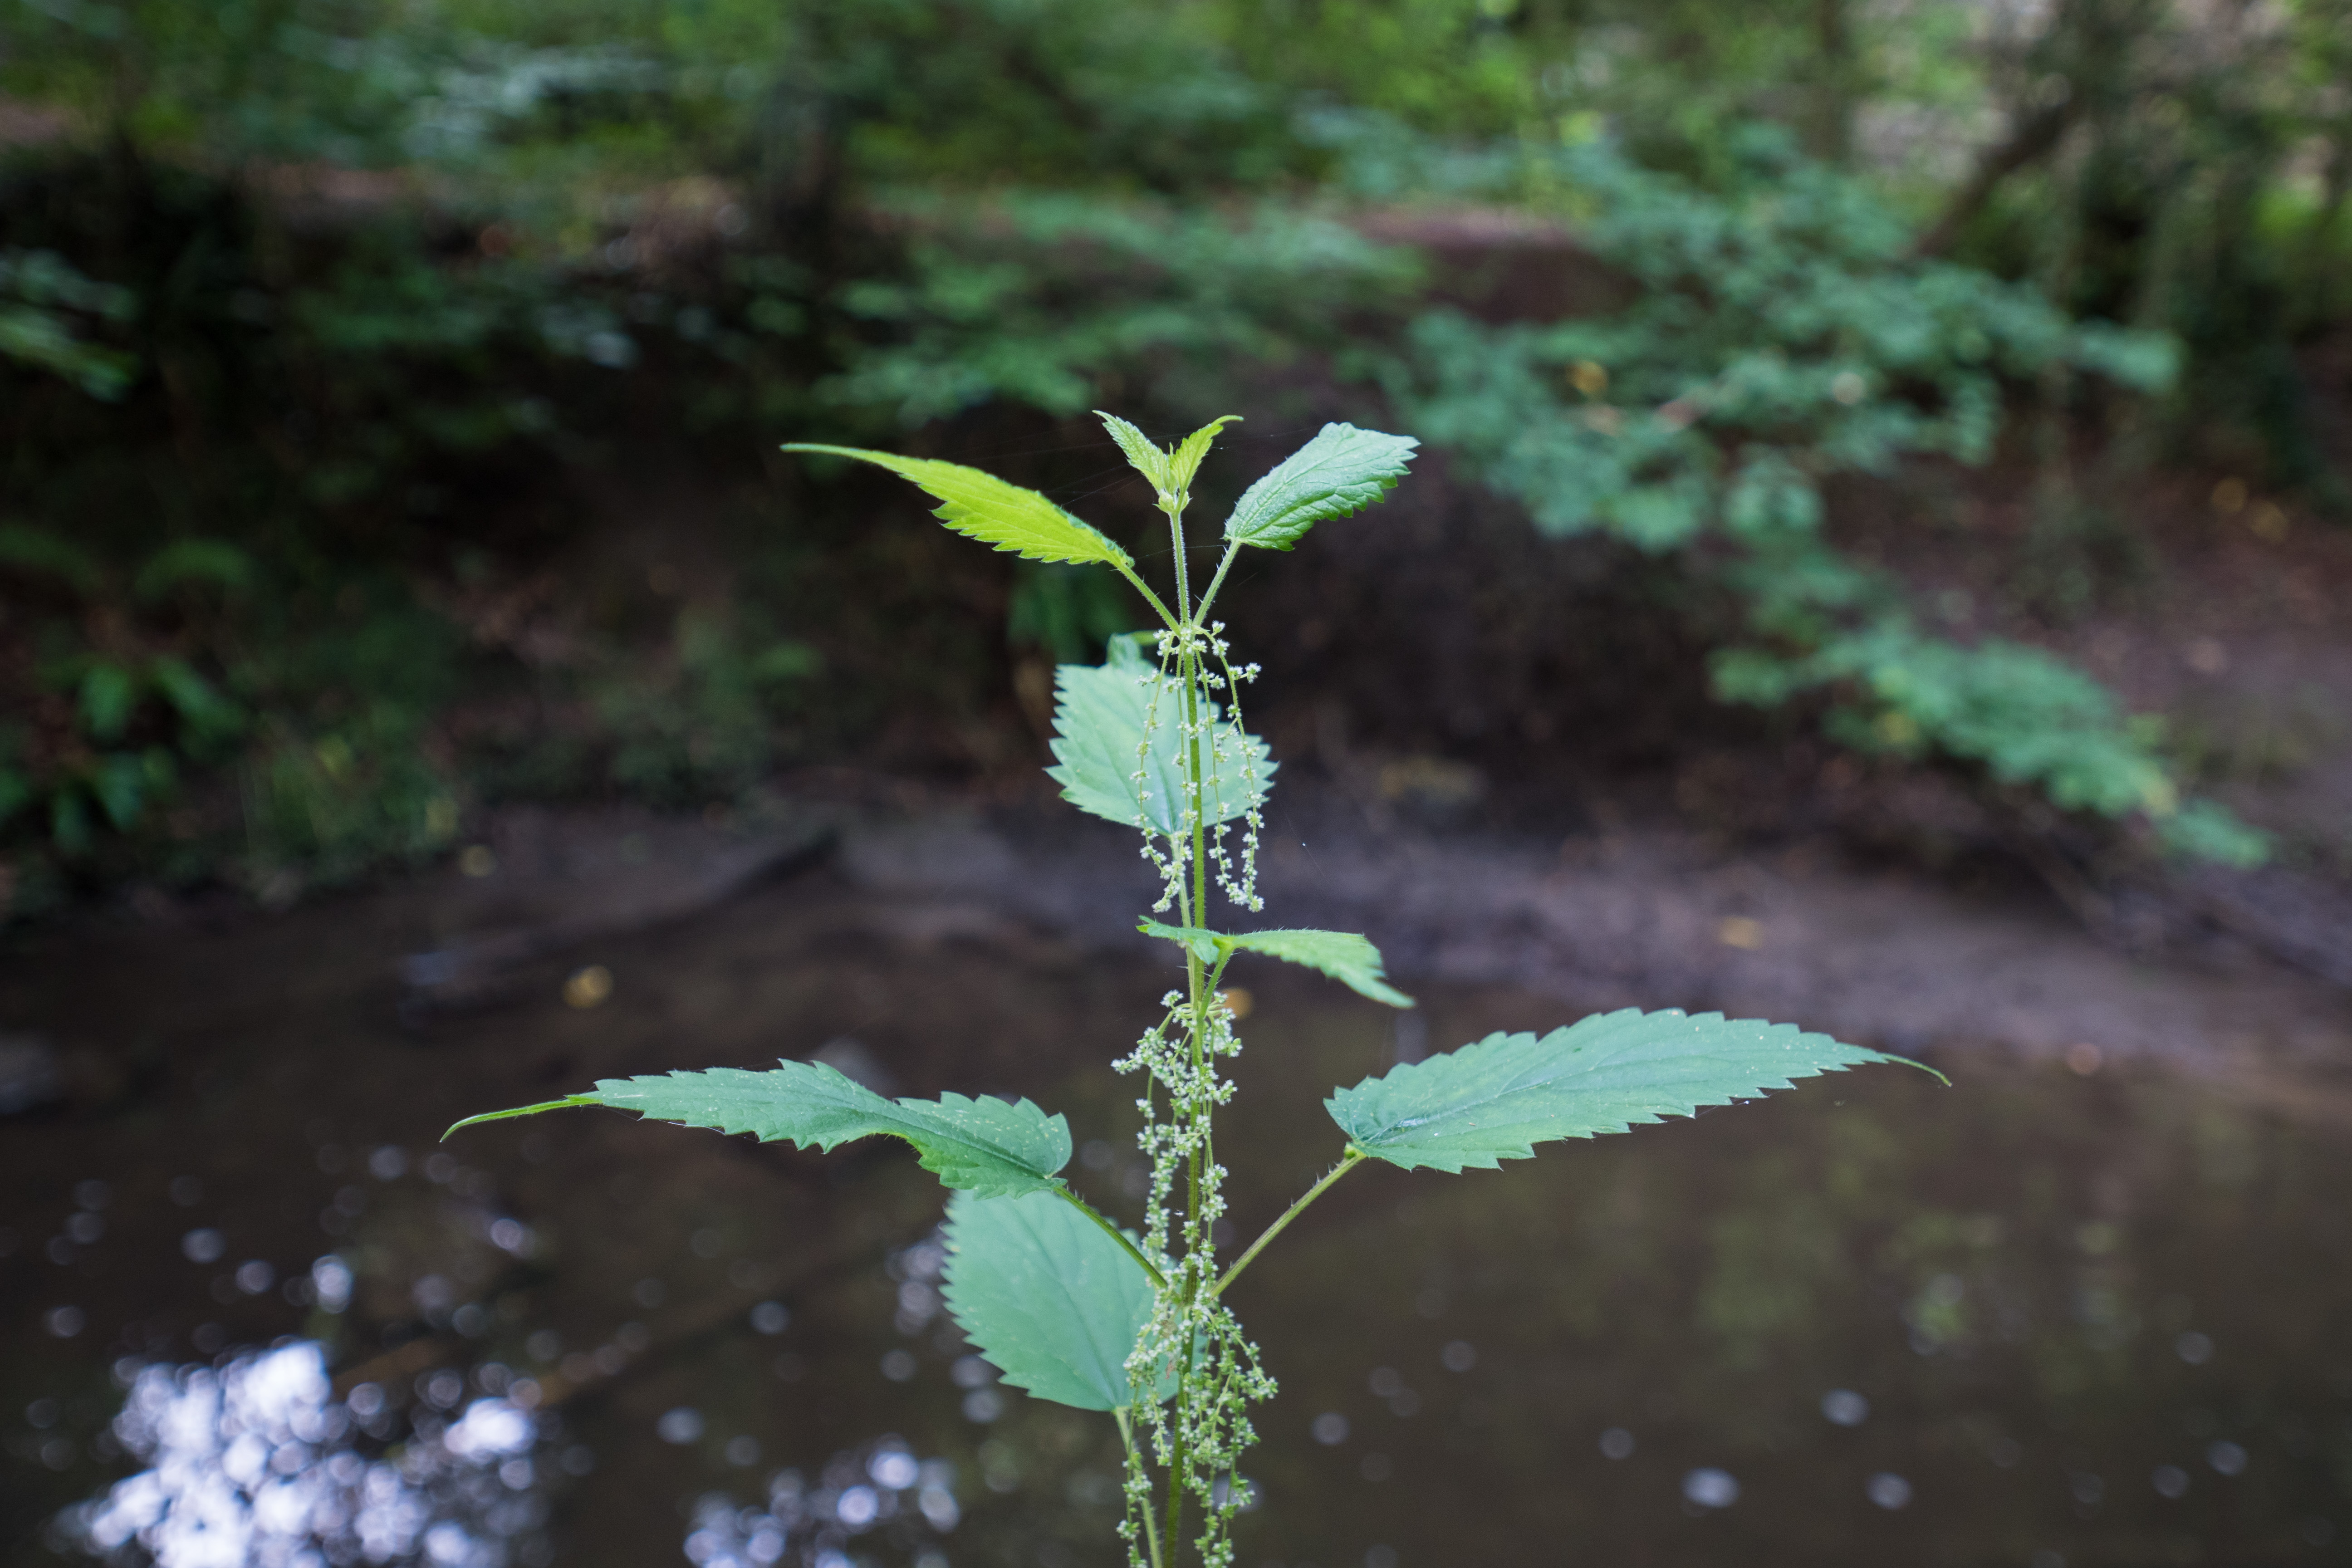
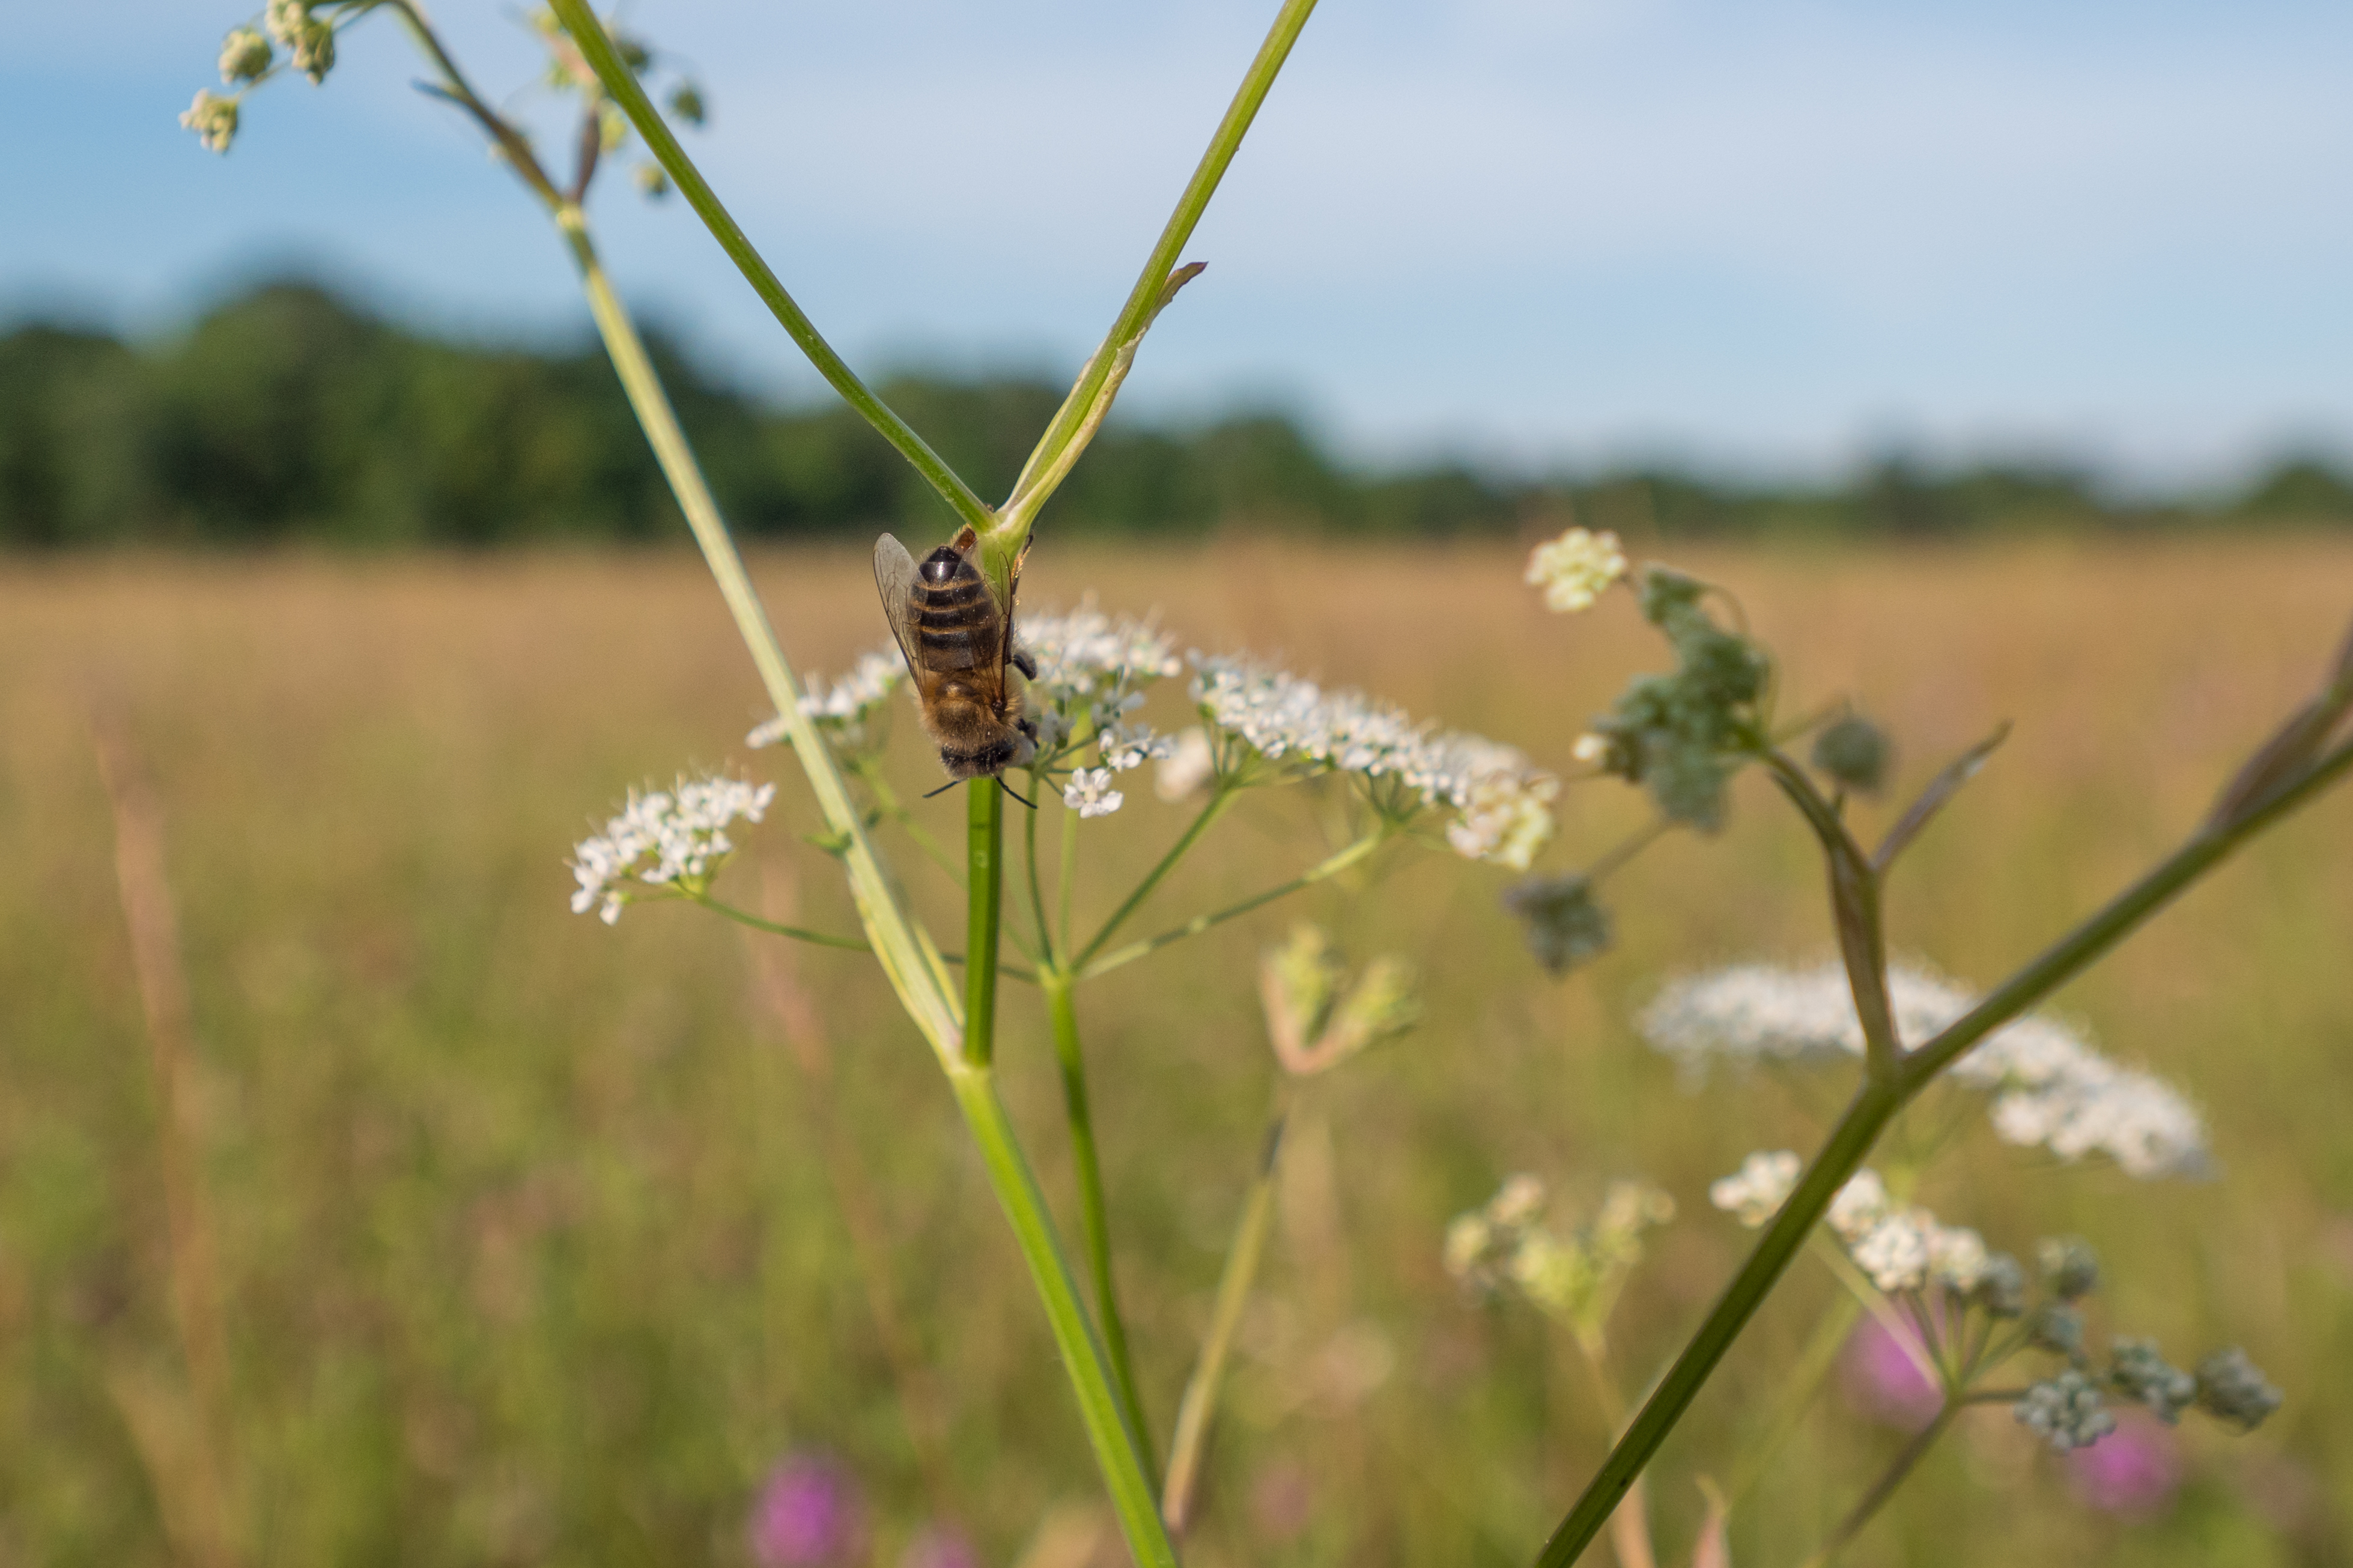
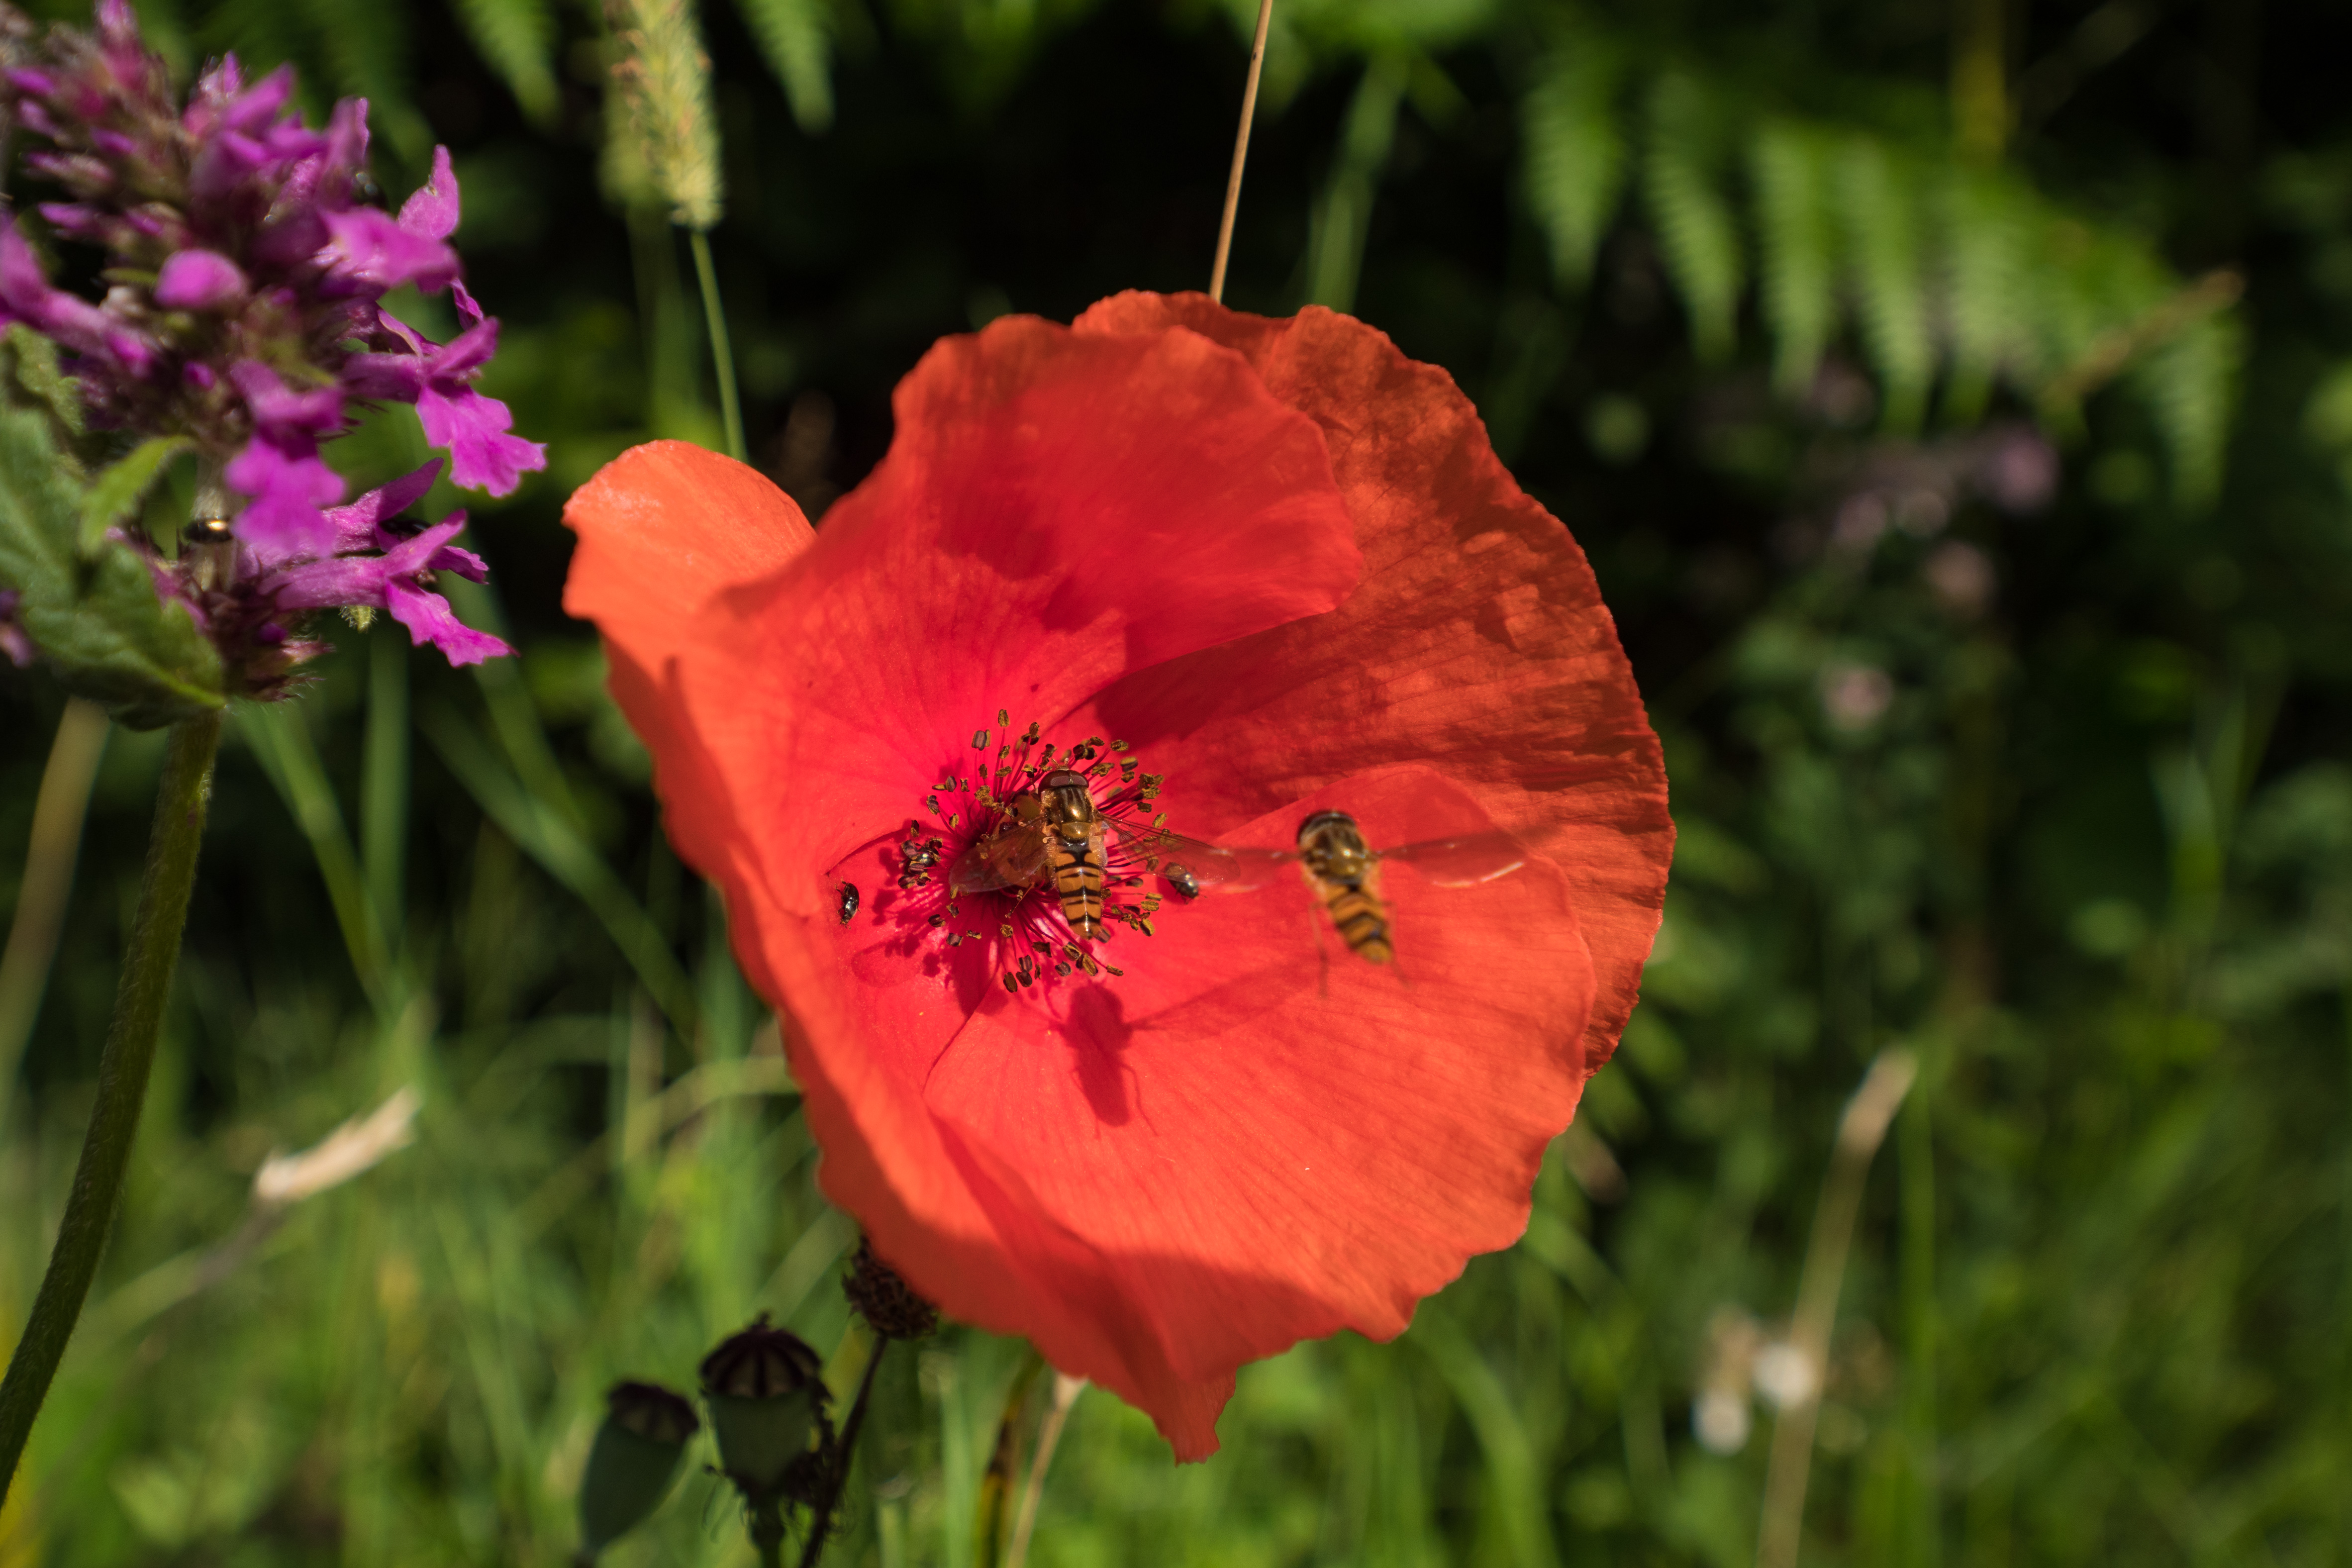
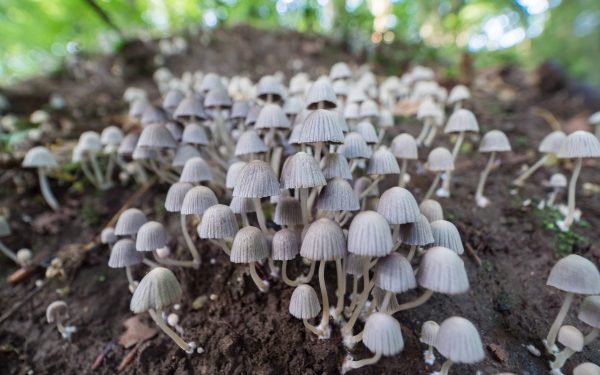
If I’ve done my job right, as you look at each photo your eye will be drawn naturally to just where I wanted it to be because that is what is in focus.
The photos below were all taken this morning on a walk with my dogs in Anston Stones. The camera was a Panasonic GH5 with an Olympus 7-14mm wide angle lens. The first 4 photos show the cameras and how to set up the practice mugs and the rest are the shots I took.
If you want a 121 workshop to improve your photography . . .
I do classroom workshops and walking workshops.
In the classroom workshop I will spend about 4-5 hours with you going through all the settings from how to hold your camera right up to the best way to compose photos.
In the walking workshop there isn’t an syllabus as such, we just spend half a day outside in places like Clumber Park, Rother Valley Country Park or Burbage / Stanage Edge and walk and talk cameras and take loads of photos as we go along
The cost for either is £125.00